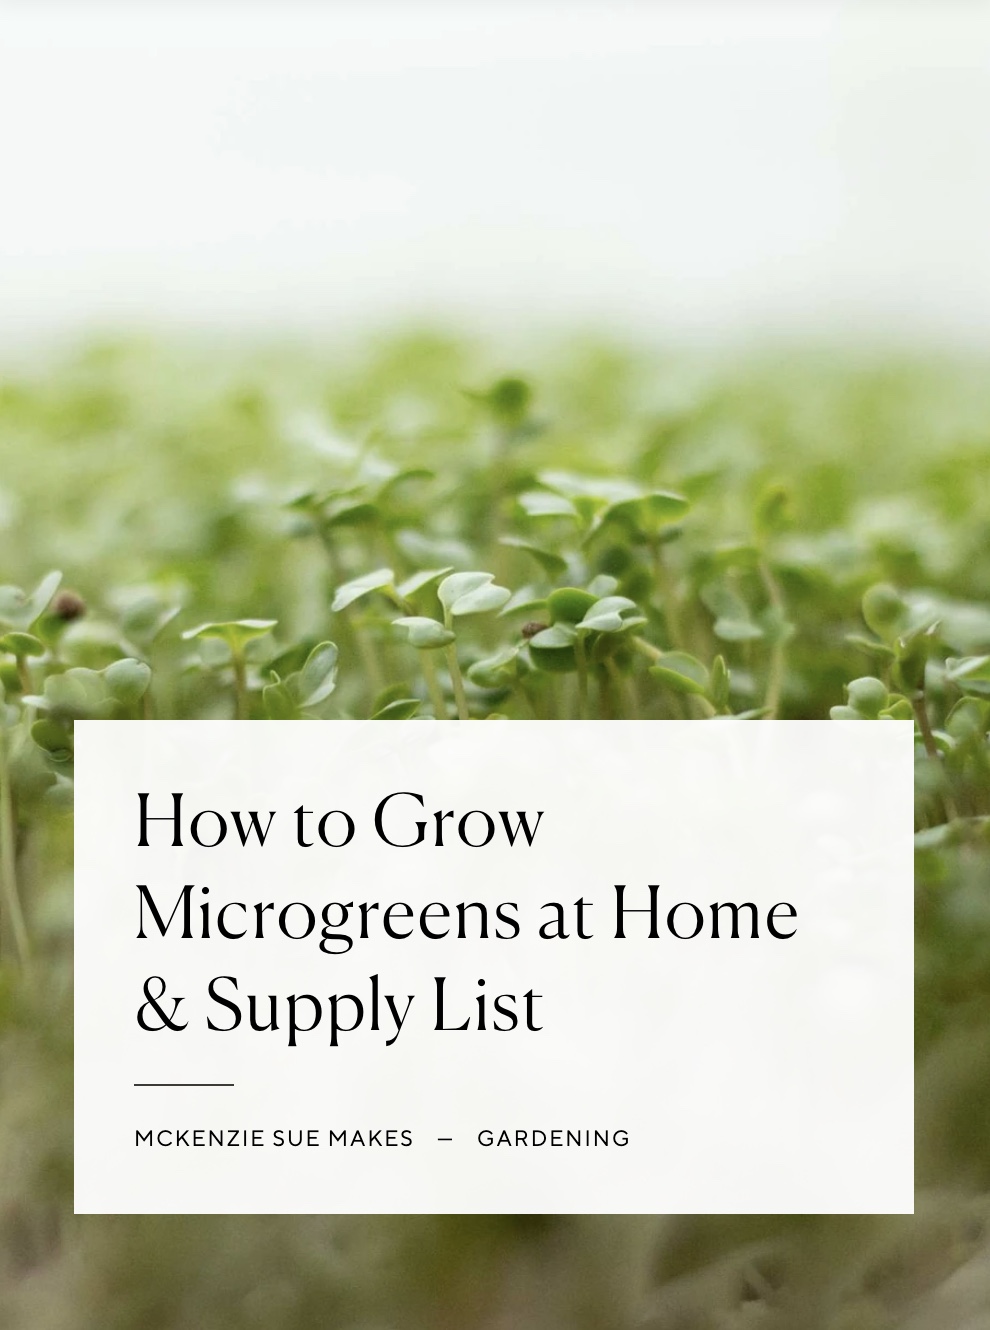
Literally one year ago, we gave growing microgreens a try. Ryan’s father influenced us with his own experimenting in this hobby. We bought a dinky plastic tub and spread our seeds on paper towels. Week after week, however, we couldn’t get our plants to their full growth before the mold took over.
A few months later, our interest sparked again and we decided to dive head first. And be “we” I mean Ryan. He headed this project by researching the best practices and best supplies. But as soon as I saw the first harvest I was all in.
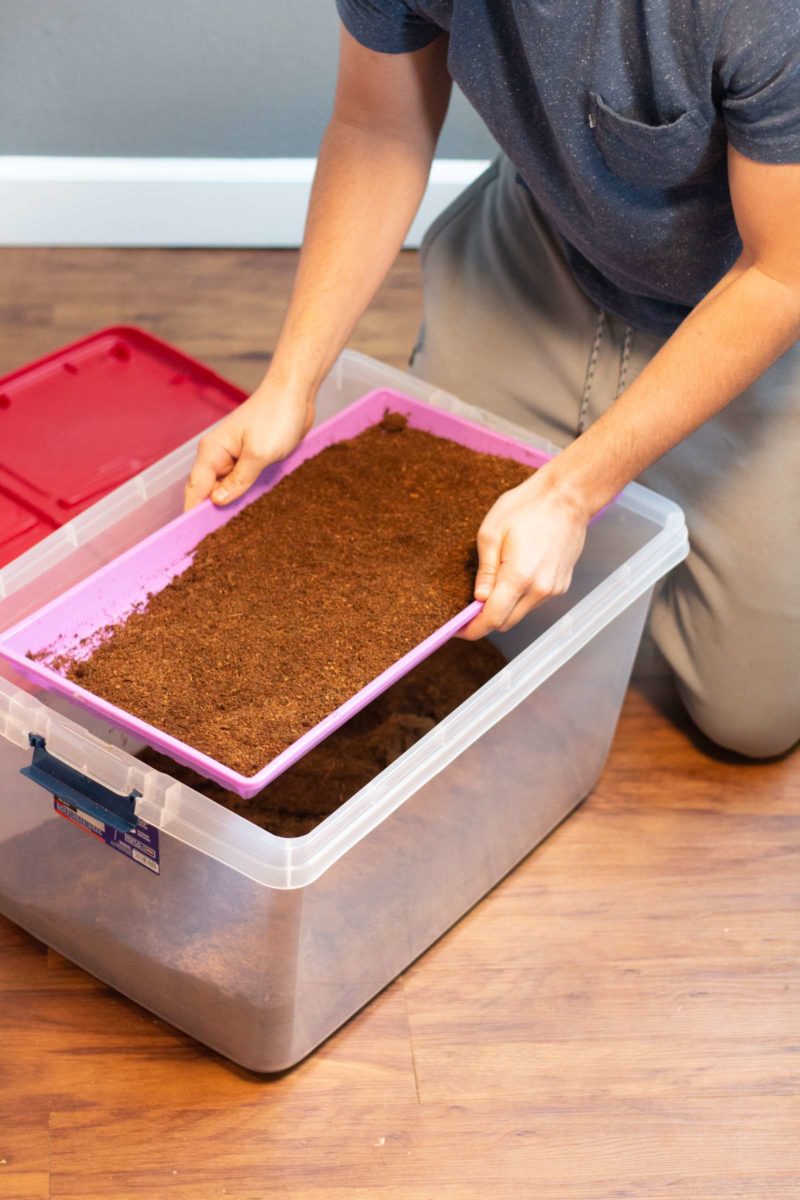
Here is the process we do for each tray. We use coco coir for the soil. Pack it nice and tight, and about an inch below the top tray with holes. This gets stacked on top of the tray with no holes.
Germinate Microgreens
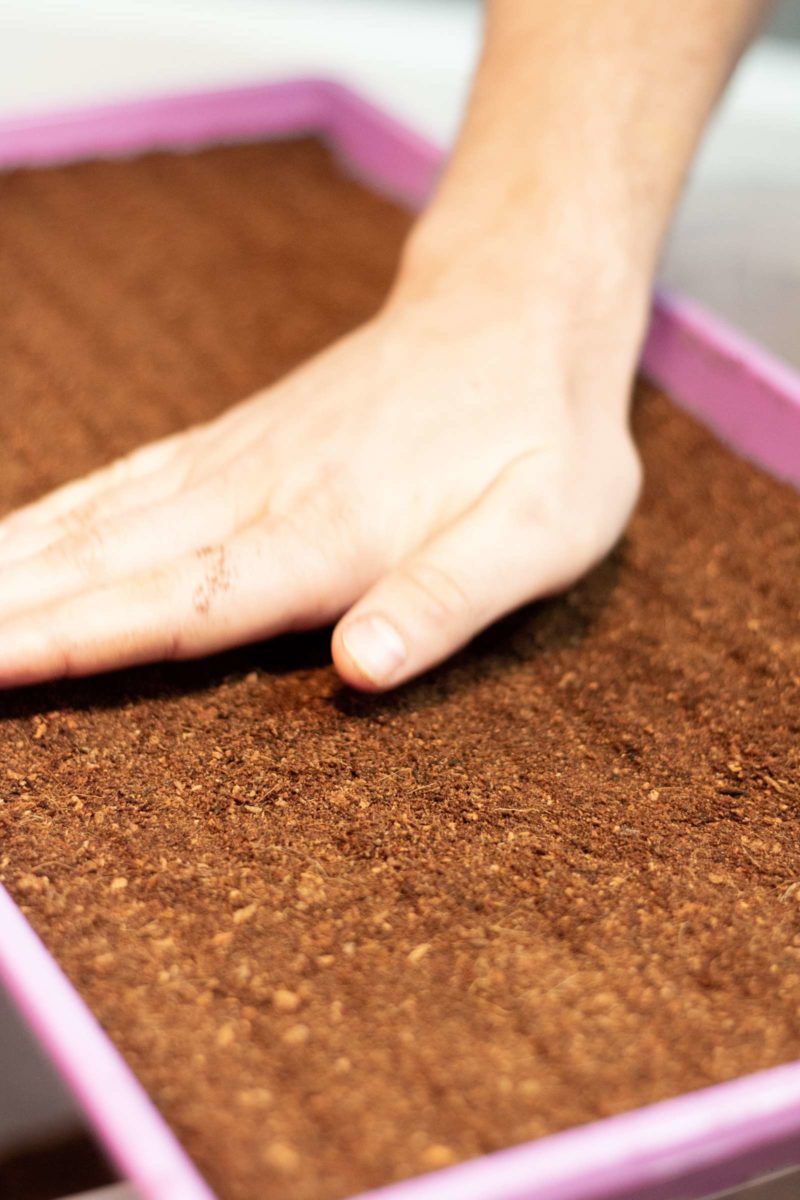
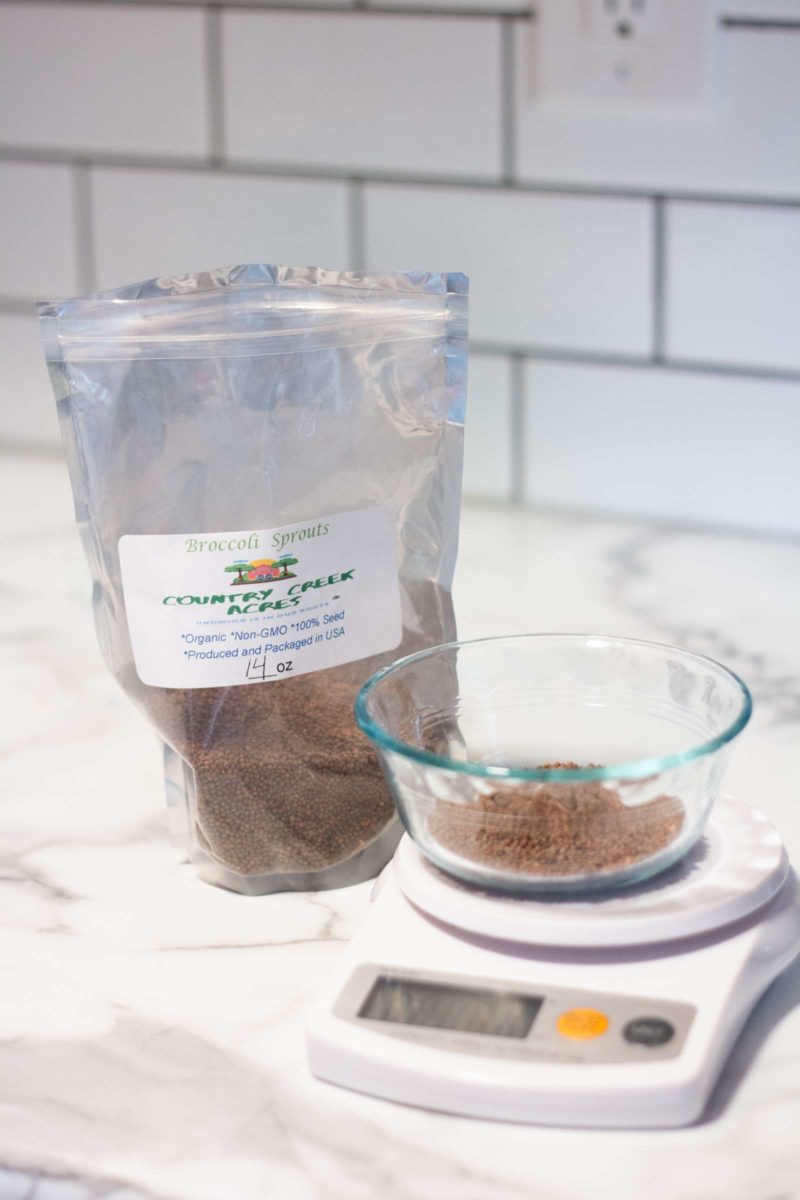
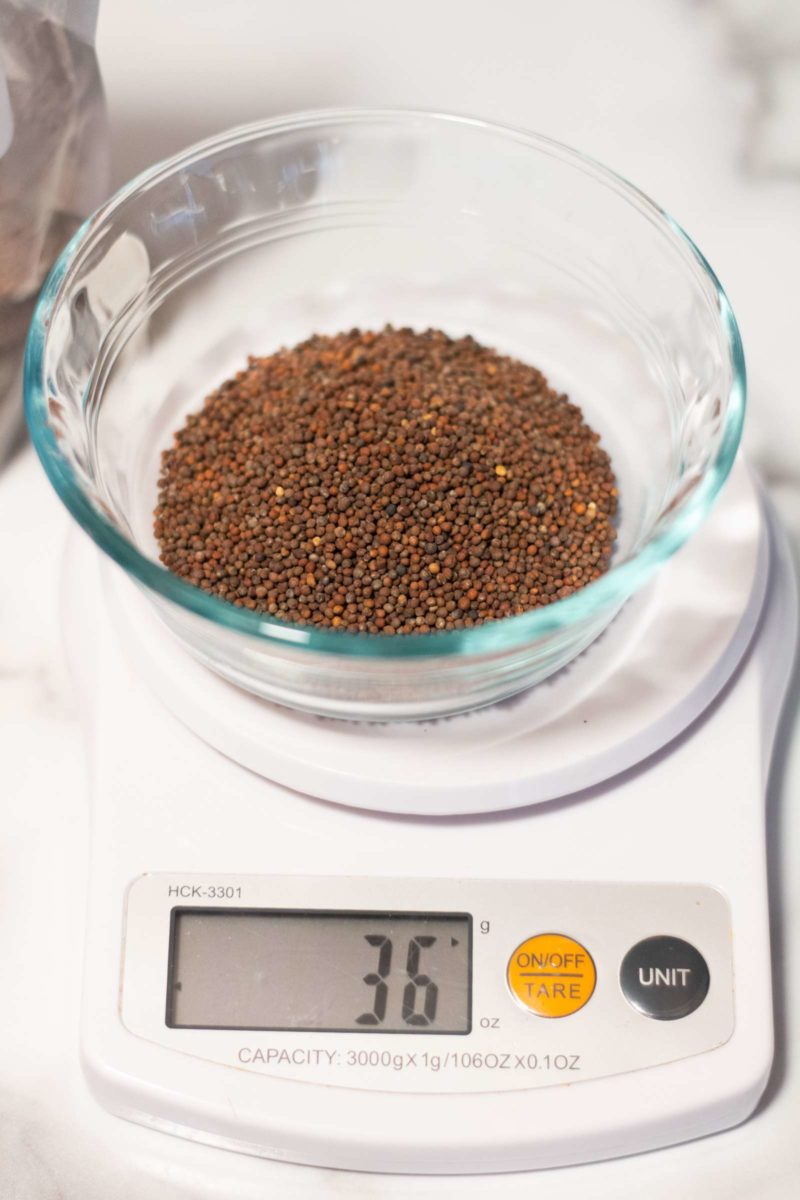
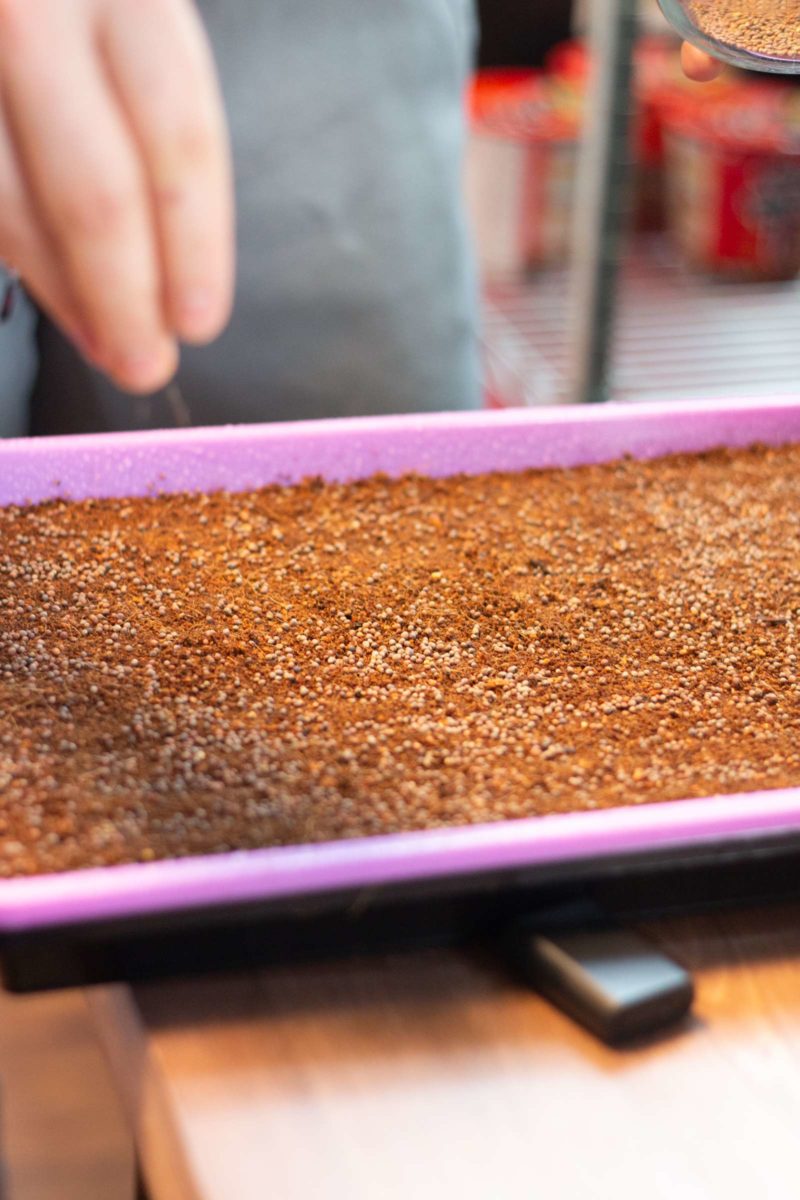
Next, you will sprinkle 20-36 grams of seeds onto the trays. Note: Different sprout varieties will require a different amount since seed size is dependent. We have experimented between 20-36 for this broccoli sprout variety to see which works best (still not sure, but we’re thinking more towards the 20’s!) Sprinkle seeds and spray with water until it is somewhat damp (you don’t want it soaking). Make sure your coco coir is completely flat or else your seeds will cluster together and create uneven germination.
Next, you will put another tray on top and place books on top. This will help get an even germination in your tray. Check each day and spray if dry. Don’t get the coco coir too wet since this would encourage mold. There will be small roots growing that almost look like mold but they aren’t. And even if you see a tiny bit the hydrogen peroxide/water mixture can help it from taking over so don’t fret!
Put your Microgreens in Blackout
After two days, you will notice the sprouts will start to lift the tray even with weights on. It’s pretty crazy that these tiny plants can lift two huge cookbooks we place on it. Next, we take the tray and flip it upside down. If you look closely at the image above, they are actually folded in half so once they have more room, the sprouts will quickly grow twice in size in the first few hours. Instead of focusing its energy on getting greener, you give it a day or two to focus its energy on growing taller.
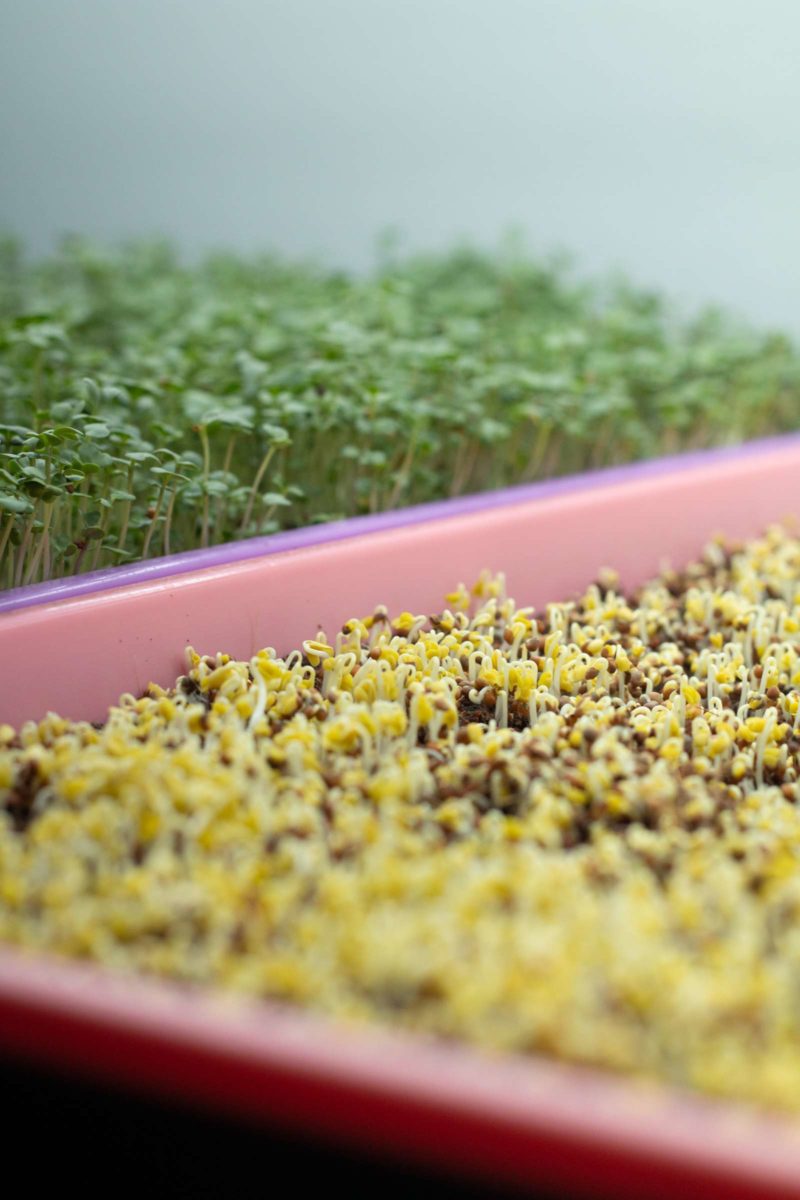
After a few days, you will take off the tray and introduce light. The sprouts will still be a yellow color since they have not had any light and will have also started to lean to the edges as they follow the cracks of light. It’s pretty cool to see! As soon as your plants are introduced to light, you will start watering them in the lower tray with a mixture of water and plant food. It really doesn’t take much, again you don’t want to overwater them! Also, make sure where they are placed is level. We learned that after wondering why one side of the tray always did better than the other. It was because the water would pool down to one side because of our uneven floors!
Take your Microgreens out of Blackout
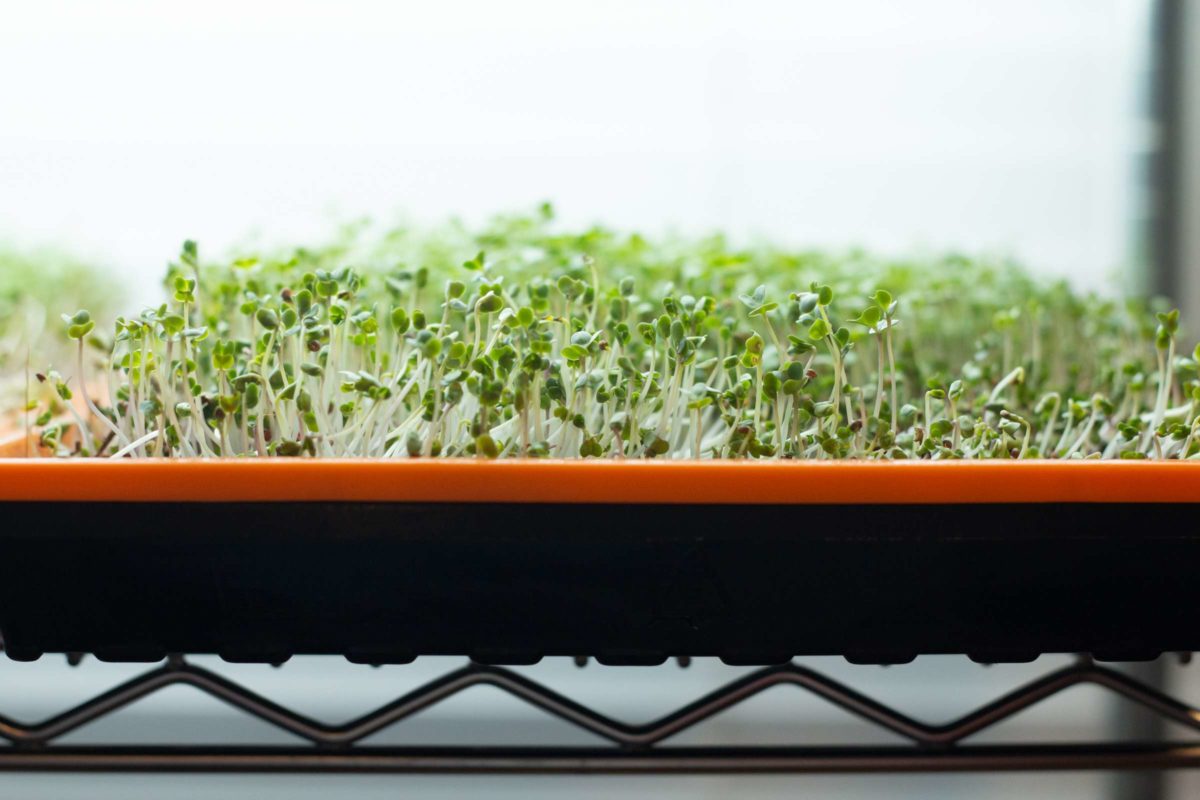
It only takes a few hours in the LED lights, and the sprouts turn from a sad-looking yellow to the most vibrant green I’ve ever seen. It’s my favorite part of the whole process (including giving the plants a nice pet when fully grown). Now just water daily and keep an eye on their progress.
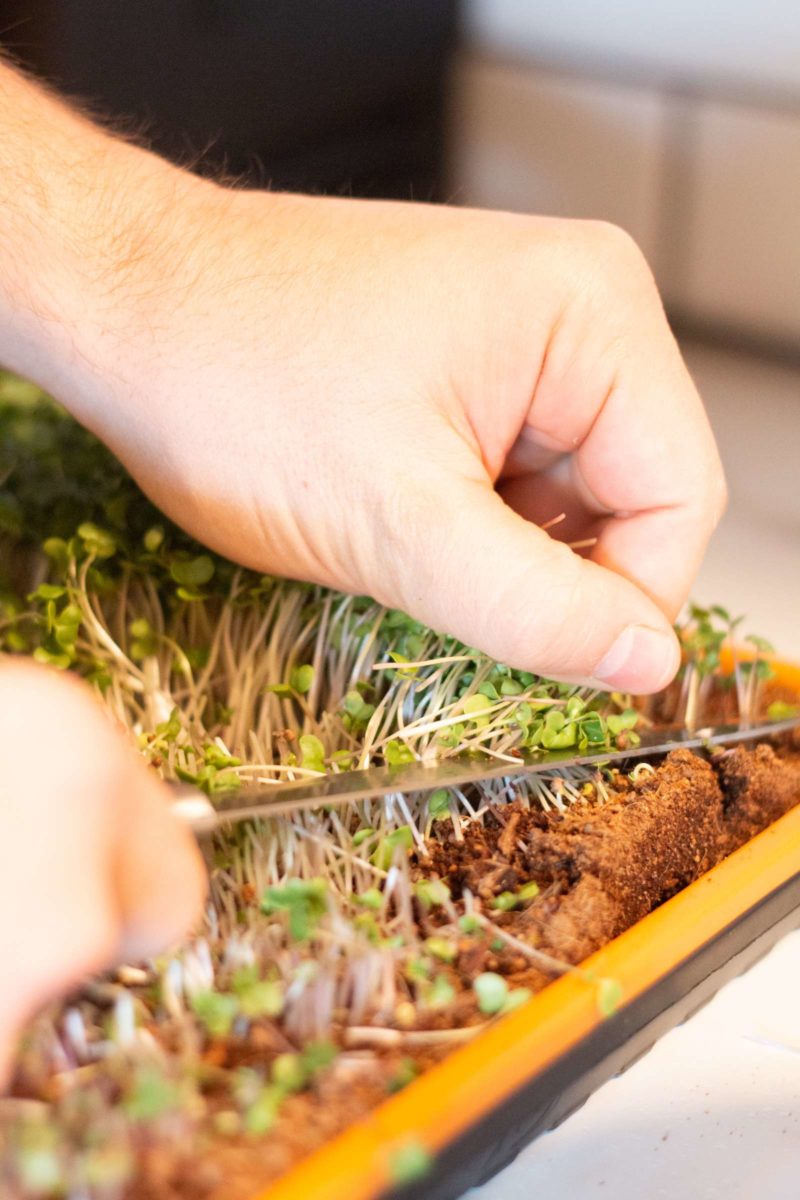
Harvest Your Microgreens
It takes about 7-10 days from germination to harvest. This way of growing microgreens is so nice because when you do harvest, you won’t need to wash them. You cut them with a knife right out of the tray and you’re done! If you do end up with some coco coir on them, give them a rinse and let them sit on a towel to dry.
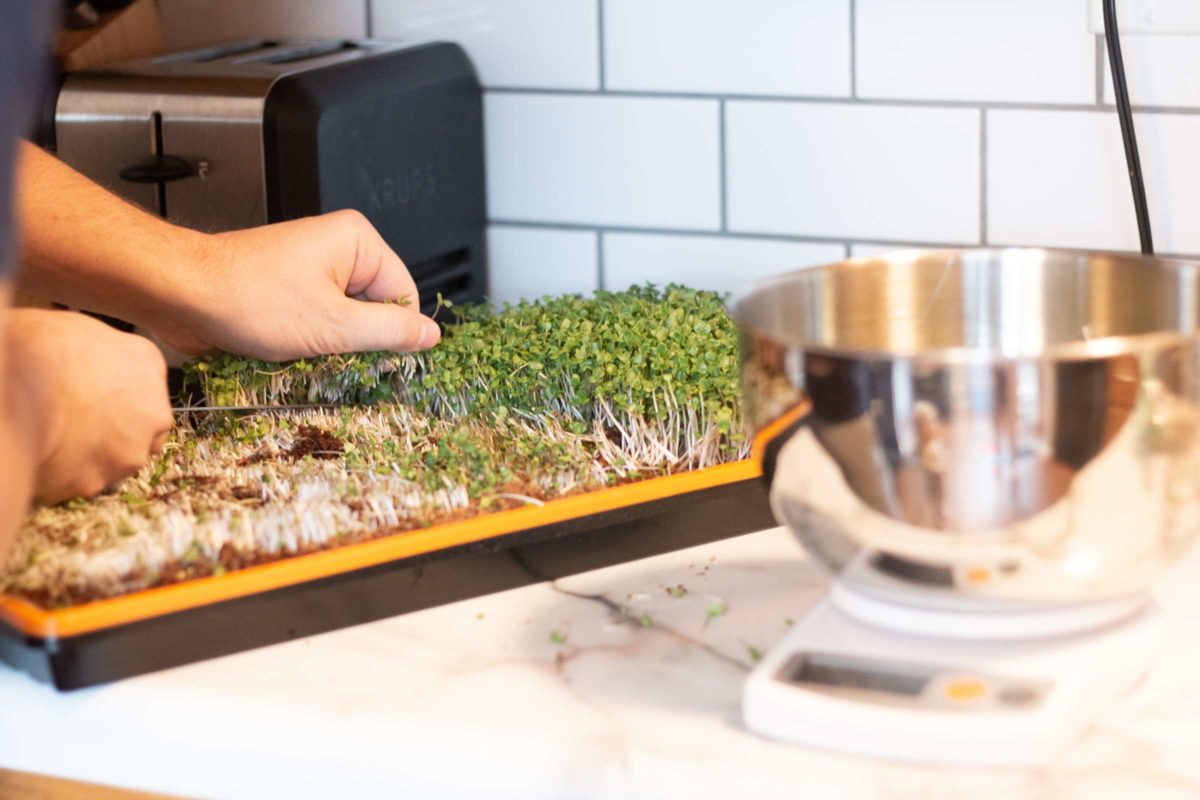
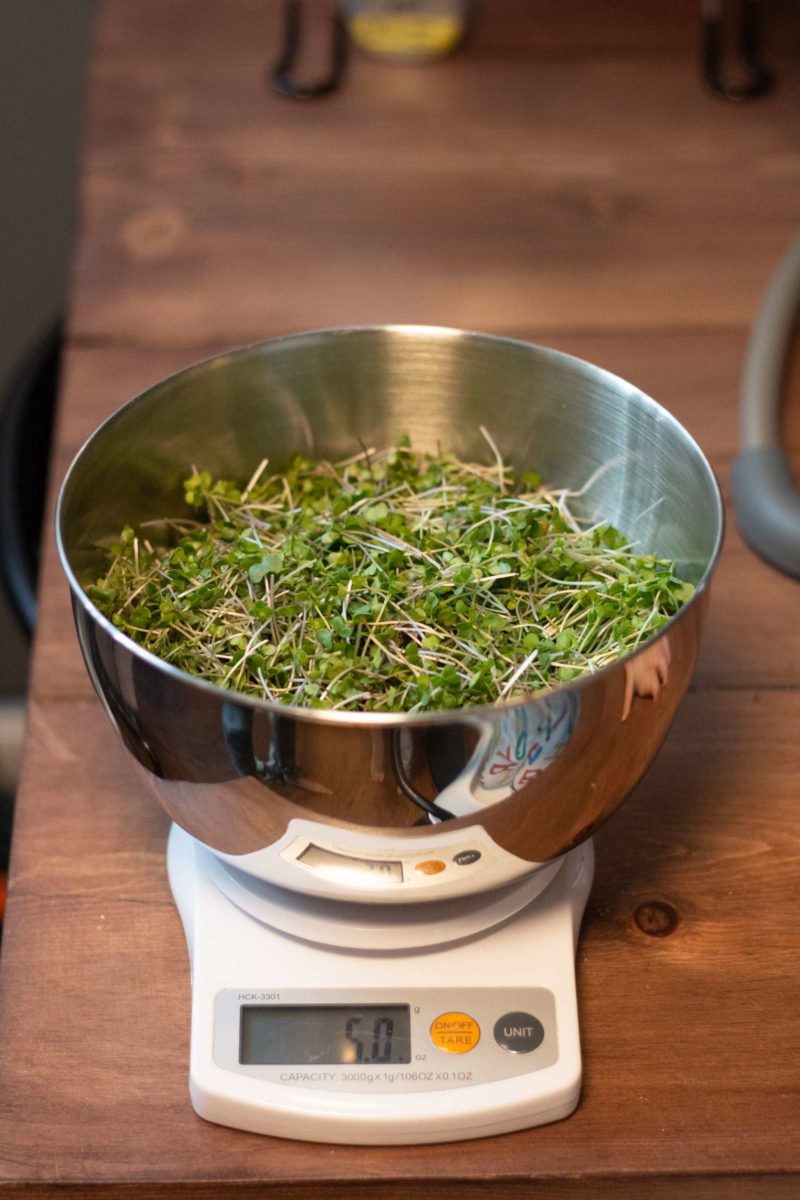

Our trays usually yield about 5-8 oz of microgreens per tray. We’re hoping to get that to 15! What do you with all these sprouts, you say? I add them to my sandwiches, we sprinkle them on our dinners. It’s amazing what a little green will do to upgrade the look of your dinner plate. And when you still have a bunch leftover, you can dehydrate and grind them into a powder to add to your smoothies. I won’t pretend to know all the information about the nutritional benefits of microgreens but unlike eating a cutting from a fully mature broccoli plant, with sprouts, you receive all the nutrients since you are eating the entire plant.
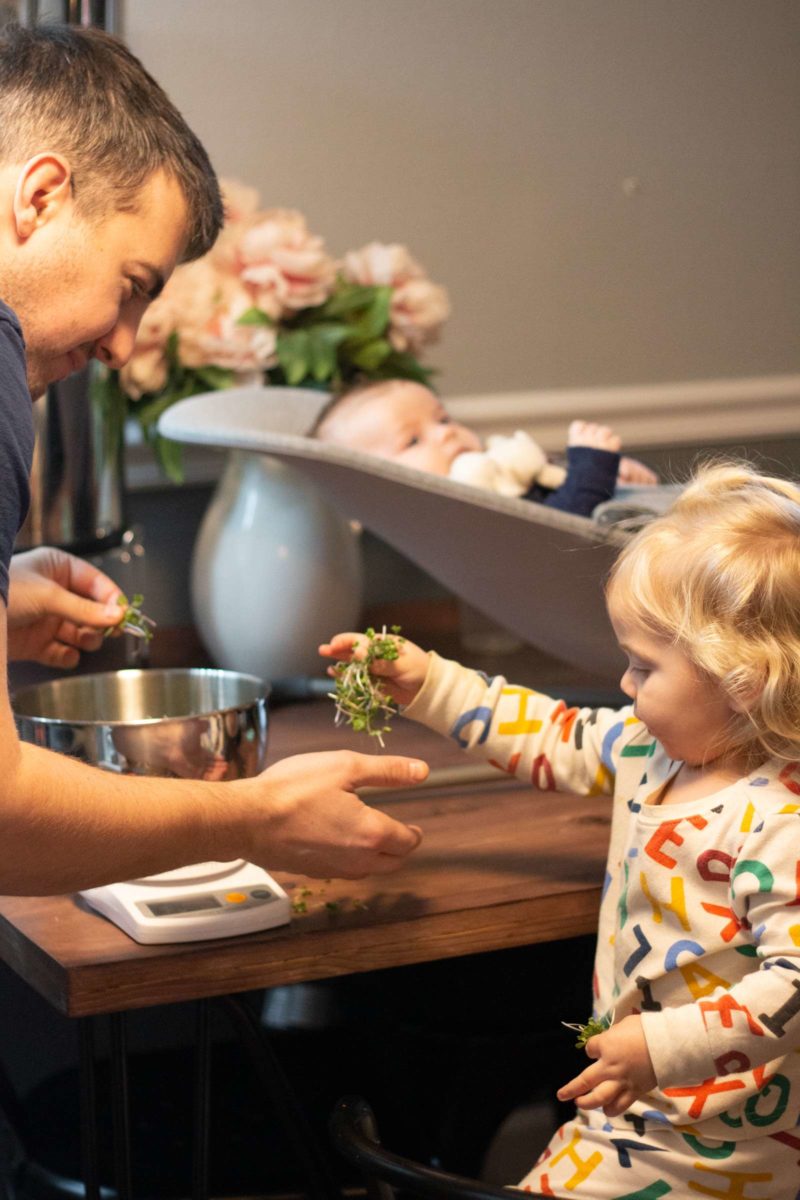
I am so excited to continue growing food in our basement and involve Hazel in the process so she can experience the wonders of gardening from an early age. Join with me!
Here is a supply list of what we have bought for our little microgreen garden. I hope this gives you enough information to get started! I would definitely watch some Youtube videos and learn from the “professionals” since I am not a pro in any way. We highly highly recommend On the Grow and Epic Gardening Youtube channels for the best tips and tricks.
Broccoli Sprouts Seeds
There are many types of sprouts to grow, but broccoli sprouts have great nutritional value and they taste good too!
Shop Now — $23.99Coconut Coir Block
This 2.5 cubic foot block when given some water will give you over 18 gallons of wonderful potting mix that we use for our microgreens, our vermicompost, and other gardening projects.
Shop Now — $19.1910 Pack Microgreen Trays
We bought the multi-color option of trays and these have holes that will allow the coco coir access the water underneath. These trays are great quality and can be reused so it’s totally worth the investment.
Shop Now — $59.9910 Pack Trays with No Holes
These trays are what hold the water for the other trays that hold the microgreens. These trays are great quality and can be reused so it’s totally worth the investment.
Shop Now — $54.996 Pack of LED Light
This pack of 6 lights works fit perfectly on our shelf and give all the light your plants need in an inside garden.
Shop Now — $39.99Hydroponic Plant Food
Because you are not using soil for growing hydroponic, you need some nutrient boost to help feed your plants. You add this to water and use it to water your plants.
Shop Now — $15.99Rockwool
This is the fiber made from molten rock that is spun into cotton candy texture and compressed into cubes. They holds the water for the hydroponic plants.
Shop Now — $9.95Quiet Dual Fan
The fans help with air flow since the area our inside garden gets little to no air flow.
Shop Now — $25.99