
We have found the absolutely perfect pie to make for the holidays. At a holiday dinner, there are usually plenty of apple and pumpkin pies to go around. But the pecan pies are usually sparse and not a real crowd favorite. But I think this pie completely changes that! We made a practice one and ate the whole thing in a few days just between the two of us.
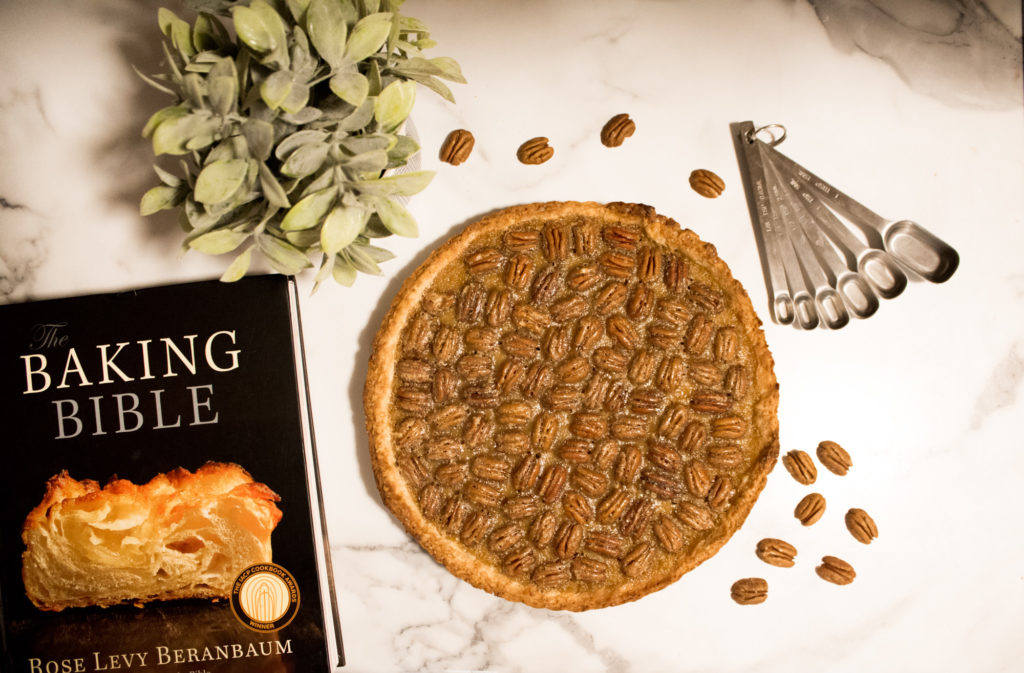
Jump to RecipeWe found this recipe in our Baking Bible cookbook. It explains all the steps in full detail and the recipes make you feel like a gourmet baking champion when you’re finished!
The fact that you can eat this straight from the freezer makes it that much better. You can make it days or even weeks in advance to the big event and as soon as you take it out, it is ready to serve. Or just let it warm up for 3 minutes and soften a bit.
It looks like a complicated recipe but it really isn’t! You do have to blind bake the tart crust but it is a pretty easy dough to work with and you can make it all in one evening.
Enjoy, and let me know if you make it for your holiday party this year!
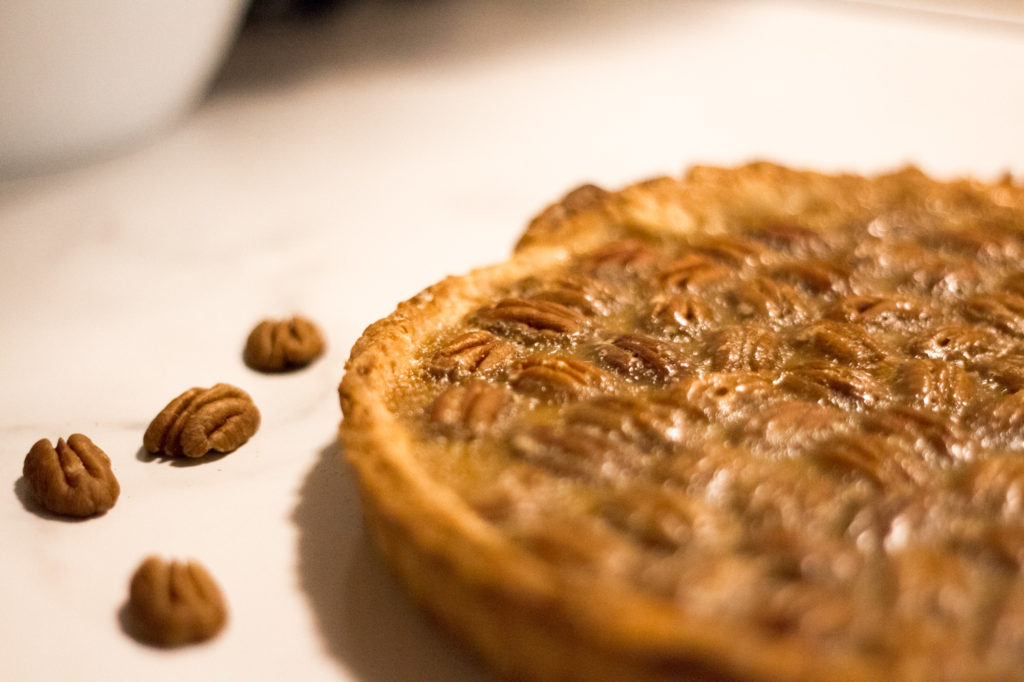
Frozen Pecan Tart
This pie/tart is designed to be eaten frozen which means it stays just soft enough when frozen that it cuts so easily and you can bite into it straight from the freezer. It is the perfect dessert to make for the holidays since you can make it well in advance!
Ingredients
Sweet Cookie Tart Crust
- 6 Tbsp unsalted butter cold
- 1 1/4 cups bleached all-purpose flour
- 1/8 tsp fine sea salt
- 3 Tbsp Turbinado sugar, preferably Sugar in the Raw, or superfine sugar
- 1 large egg yolk
- 2 Tbsp heavy cream cold
Filling
- 1/3 cup corn syrup
- 1/2 cup light brown sugar firmly packed
- 5 large egg yolks
- 1/4 cup heavy cream
- 4 Tbsp unsalted butter
- Pinch of sea salt
- 1 tsp pure vanilla extract
- 1 3/4 cups pecan Halves
Instructions
Sweet Cookie Tart Crust
In a medium bowl, stir together the flour, sugar, and salt. With a pastry cutter, cut in the cold butter until the mixture resembles coarse meal.
In a small bowl, stir together the egg yolk and cream. Mix it into the flour mixture until the dough comes together and can be formed into a large ball.
Flatten the dough into a 6-inch disc. Wrap it well and refrigerate it for 30 minutes, or until firm enough to roll or pat into the pan. It can be refrigerated for up to 3 days or frozen for up to 6 months. If chilled for more than 30 minutes, it can take as long as 40 minutes at room temperature to become malleable enough to roll.
Set the dough between lightly floured large sheets of plastic wrap. Roll it evenly into a 1/8 inch thick disc larger than 12 inches in diameter. While rolling the dough, sprinkle it with a little more flour on each side as needed and if the dough softens significantly, slip it onto a baking sheet and refrigerate it until firm. From time to time, flip the dough with the plastic wrap, and lift off and flatten out the plastic wrap as necessary to make sure it does not wrinkle into the dough.
Remove the top sheet of plastic wrap and with the bottom of the tart pan placed on top, flip it over into the tart pan. Gently ease the dough down to reach the bottom and sides of the pan. If the dough breaks when transferring it, patch and press it into the pan with your fingers.
Use a small sharp kitchen scissors to trim it to the 1/8 to 1/4 inch above the top of the pan. Cover with plastic wrap and refrigerate it for a minimum of 1 hour. Preheat the oven to 425ºF.
Line the pan with parchment paper and fill it 3/4 full with beans or rice to weight it, pushing the weights up against the sides.
Bake it for 5 minutes, lower the heat to 375ºF and bake for 15-20 minutes, or until set. If not set, the dough will stick more to the filter. Lift out the filter with the weights. Continue baking for 5-10 minutes more. If the dough starts to puff in places, press it down quickly with the back of a spoon. Bake until pale gold (the edges will be a deeper brown) and the tart shell feels set but still soft to the touch. It will continue firming while cooling, just thew any cookies do.
Lower the oven temperature to 300ºF. Keep the dough covered to prevent drying or crusting while you make the filling.
Filling
Have ready a strainer suspended over a 2 cup glass measure with a spout.
In a medium heavy saucepan, combine the corn syrup, egg yolks, cream, butter, and salt. Cook over medium-low heat, stirring constantly with a silicone spatula until it is uniform in color and just beings to thicken slightly, without letting the mixture boil, 7-10 minutes (an instant-read thermometer should read 160ºF). Pour it at once into the strainer and press it through. Stir in the vanilla.
Arrange the pecans on the bottom of the baked tart shell. Starting at the center, with the cup's spout just over the pecans, slowly pour the filling, lightly coating the nuts and working from the center to the edge of the tart. Once the filling is completely poured, the pecans will float. There will be more space; add more pecans to form a tight blanket of nuts.
Place a roil ring on top to protect the edges from over-browning and set the tart into the oven. Bake for 15-20 minutes, or until the filling is puffed and golden and just beginning to bubble around the edges. The filling will shimmy slightly when moved. Check early to prevent overbaking, which would result in a dry filling.
Cool the tart for about 45 minutes. And then remove the outer rim. Wrap and place in freezer until serving! The tart cuts perfectly well frozen. Serve it frozen or let it sit for 3 minutes to soften slightly.
Recipe Notes
I doubled the recipe for a larger tart pan and used the leftover crust and filling to make mini muffin tin tarts for the kids.

