
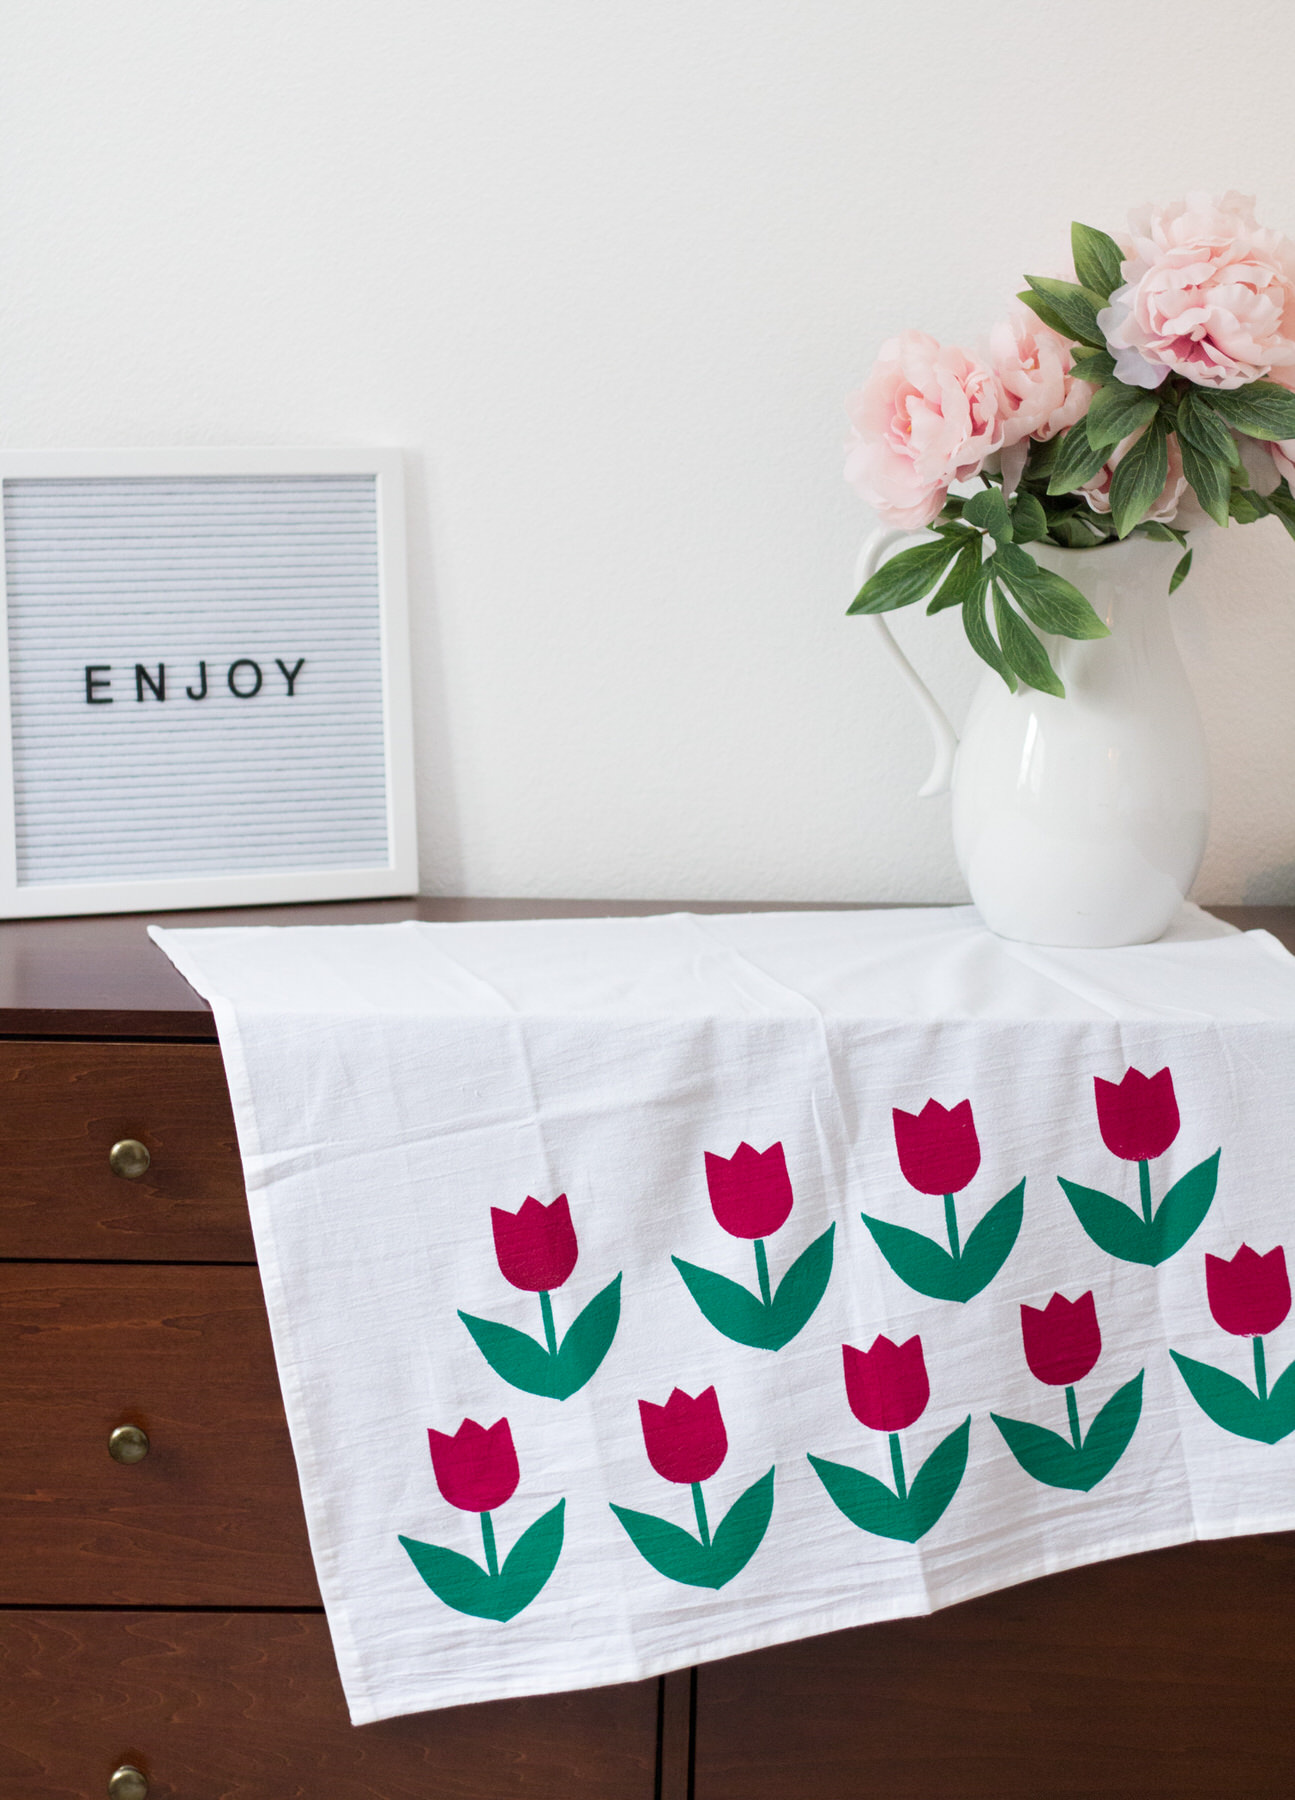
This month’s creative project from The Crafter’s Box is Silkscreen Printing! This type of silkscreen is more or less block printing since you don’t have to worry about toxic chemicals/ink and photo emulsion. You can do it right at home with just some copy printer paper! And I’ll tell you exactly how.
The supplies you’ll need:
- Speedball 10×14″ Screen Printing Frame
- Screen Printing Inks (Versatex is the brand I used)
- 8″ Fabric Squeegee
- Painter’s Tape
- Printer Paper
- Xacto Knife
- Pencil
- Popsicle Sticks (or something to use to transfer ink to and from bottles)
If you have a Blick store near you, that would be a great place to go. Most of the supplies come from there! The way screen printing works is you use a mesh to transfer ink onto fabric/paper. You do it one color at a time and it only goes through the areas where the mesh is exposed.
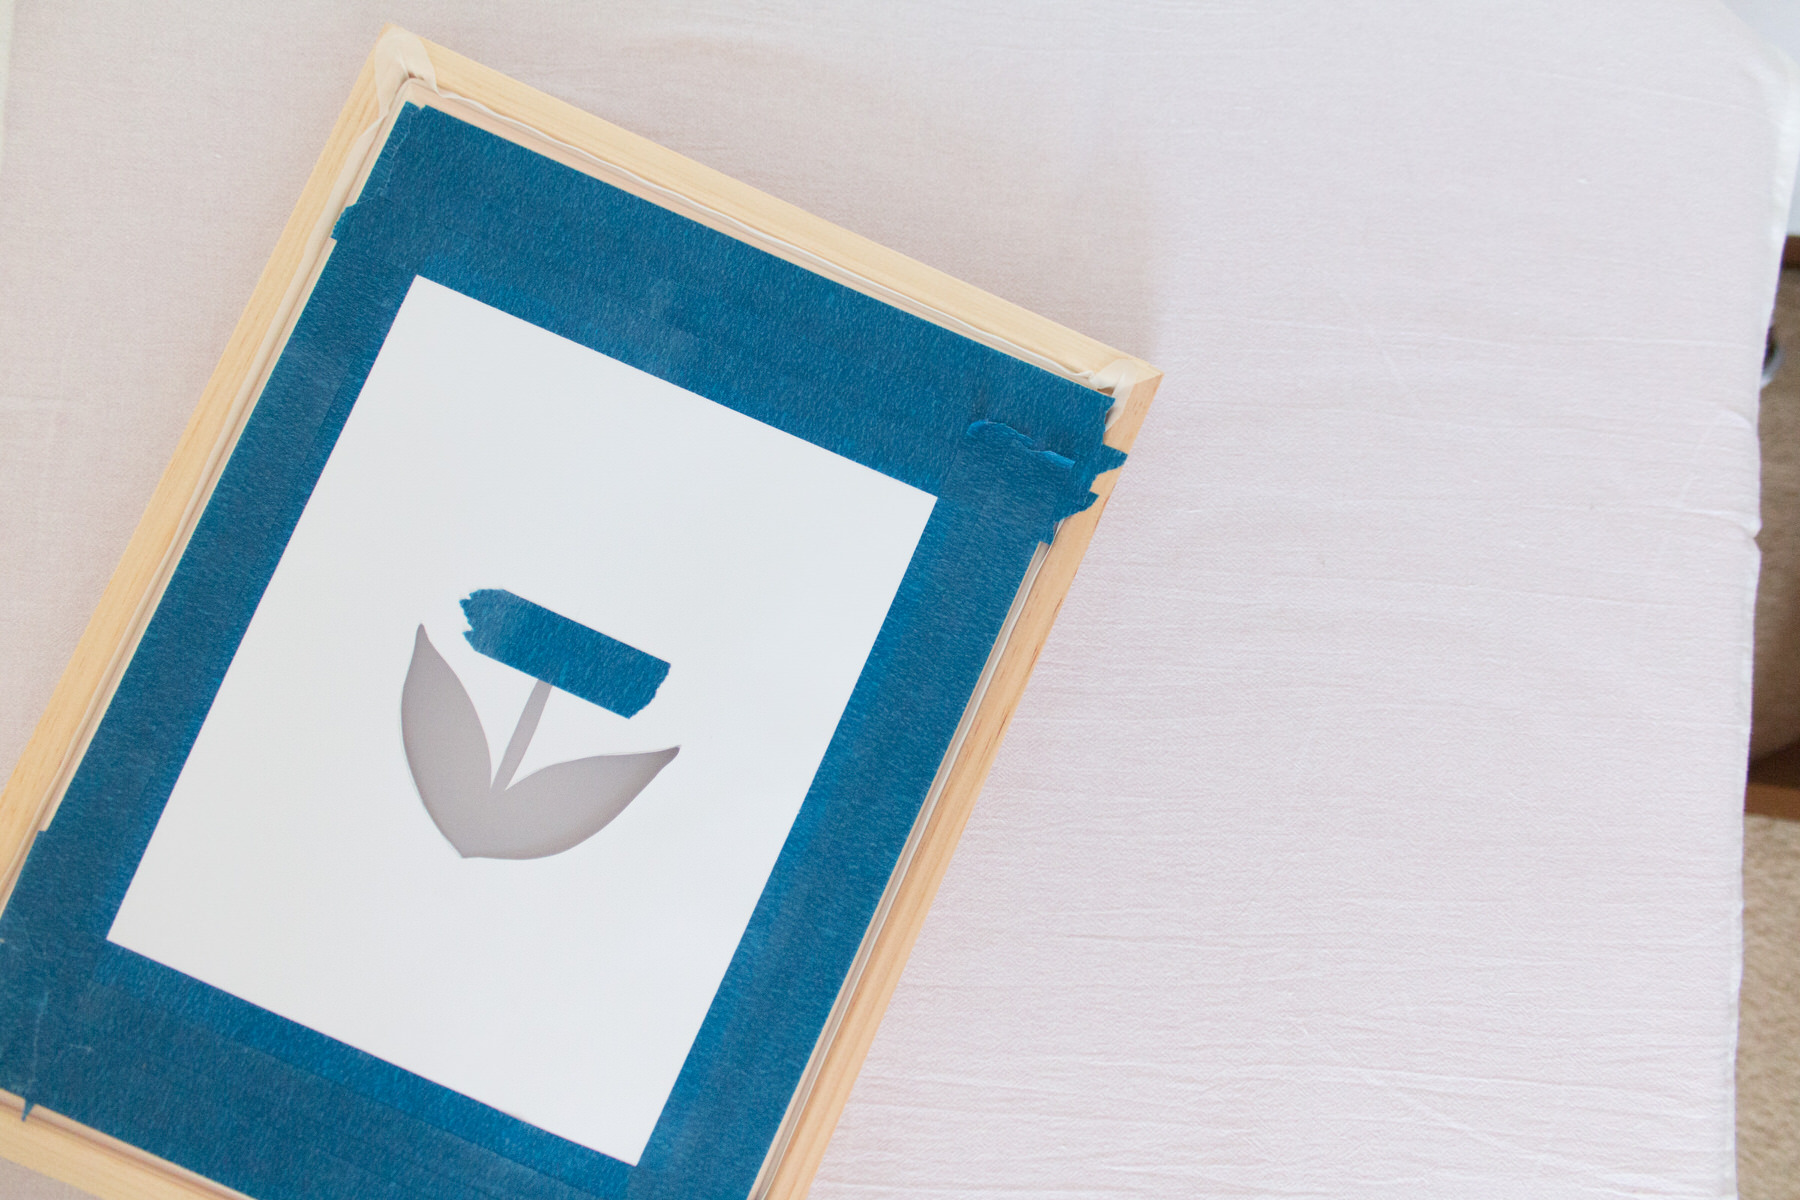
The first step is creating your stencil. You can print out a design, transfer one from somewhere or just draw right on the copy paper you’ll be using! After you get the design penciled in, use an Xacto knife to cut it out. Wherever you cut is where the ink will go so make sure to go nice and slow. Take the painter’s tape and cover the rest of the area your paper doesn’t. I soon learned that the more tape the better since it withstands the wet ink more than the paper does. So really cover it up.
In the image above, you can see I had cut the stem a little too high than I wanted and just used tape to cover where I had cut too far. Easy peasy! Next time I will add tape all the way to my cut design so I can use the stencil longer. You could use thicker paper but it gets more expensive. I’m going to try craft paper next time. This type of screen printing won’t work well for super intricate designs but I think the simple ones look the best!
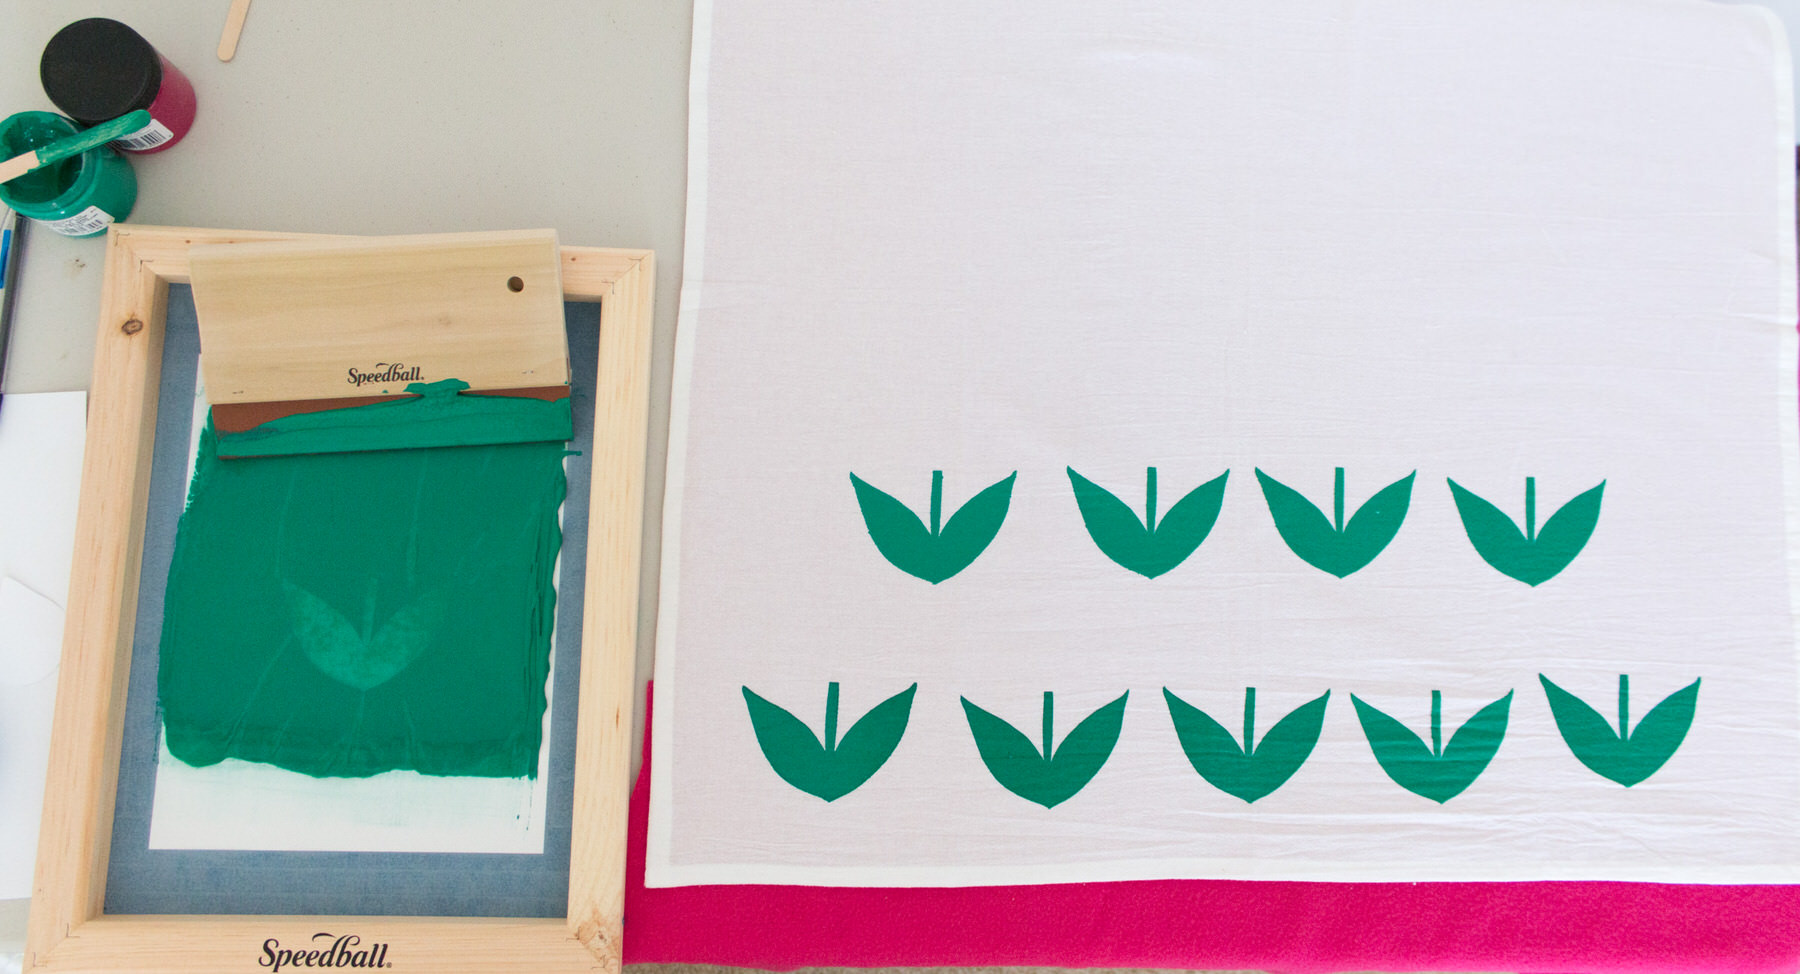
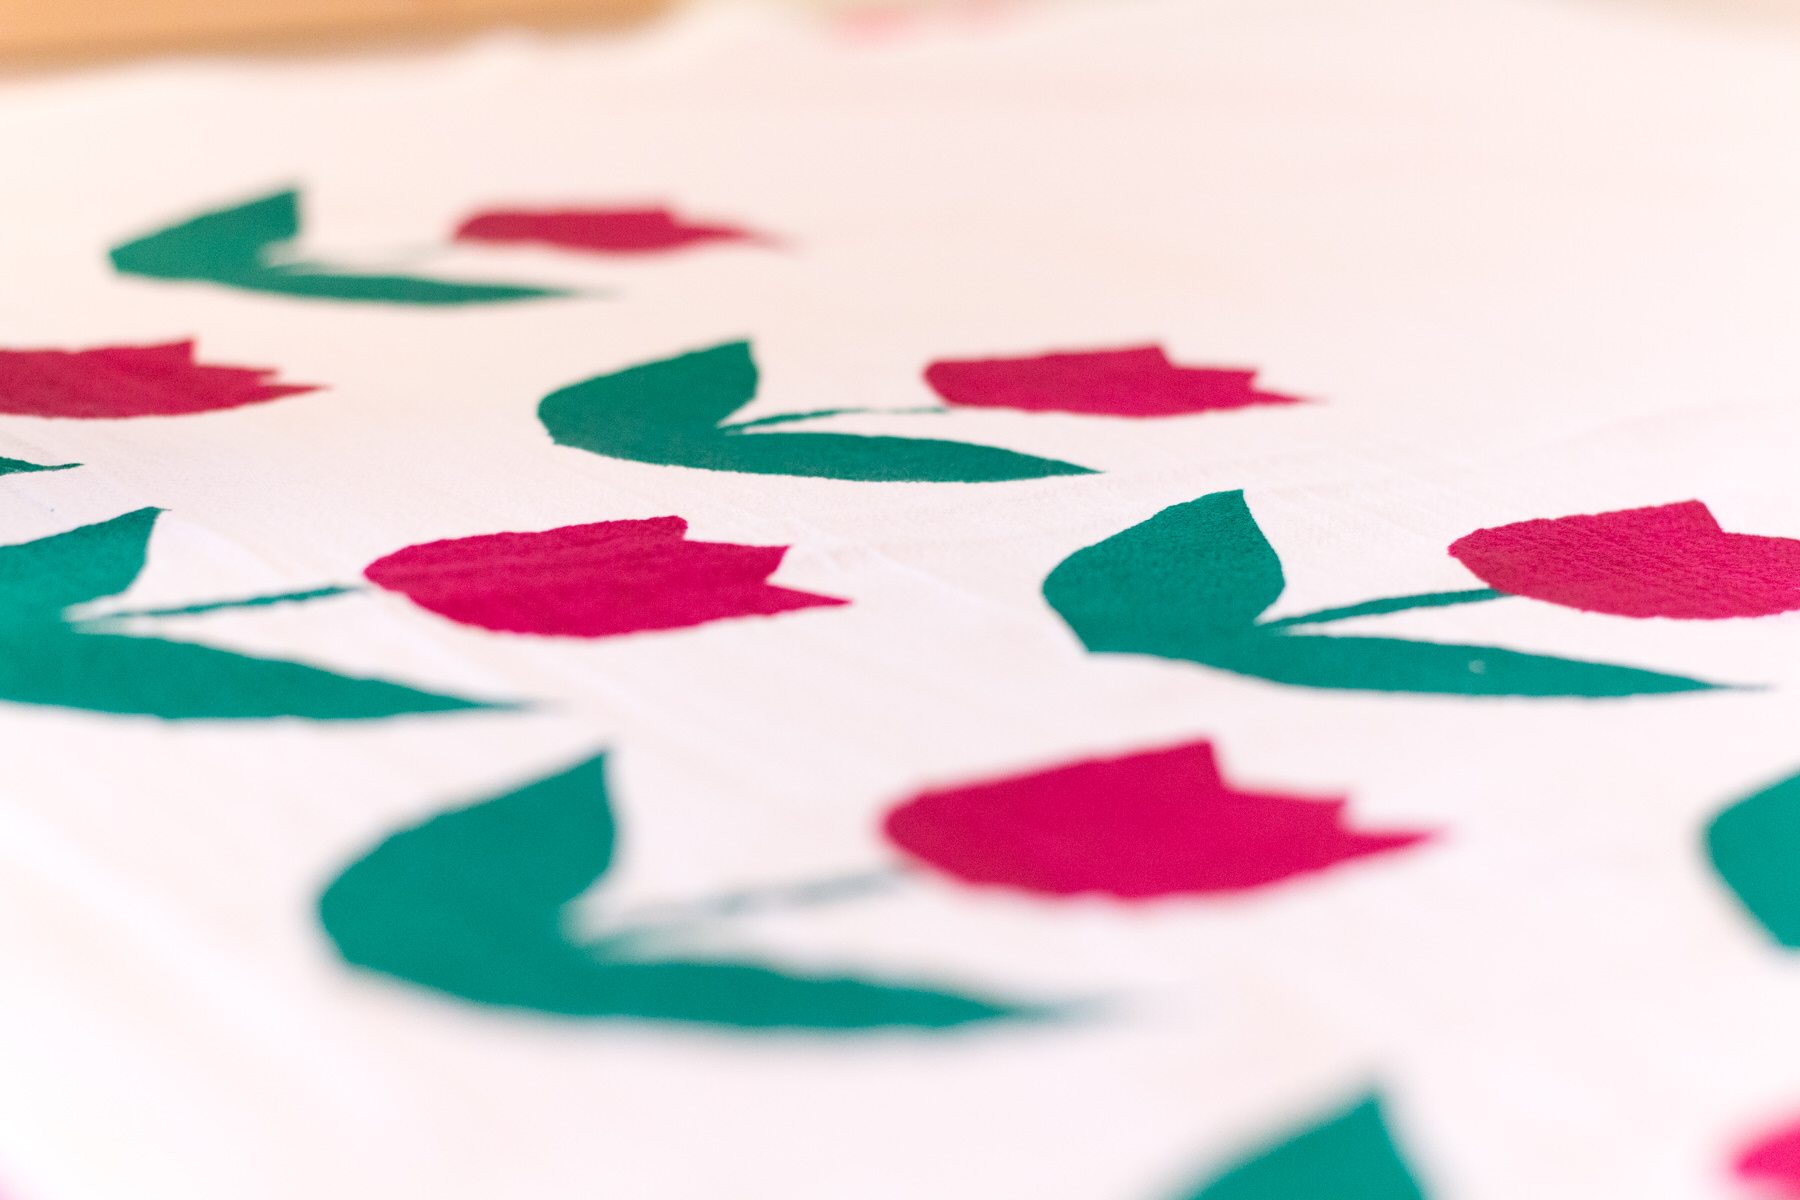
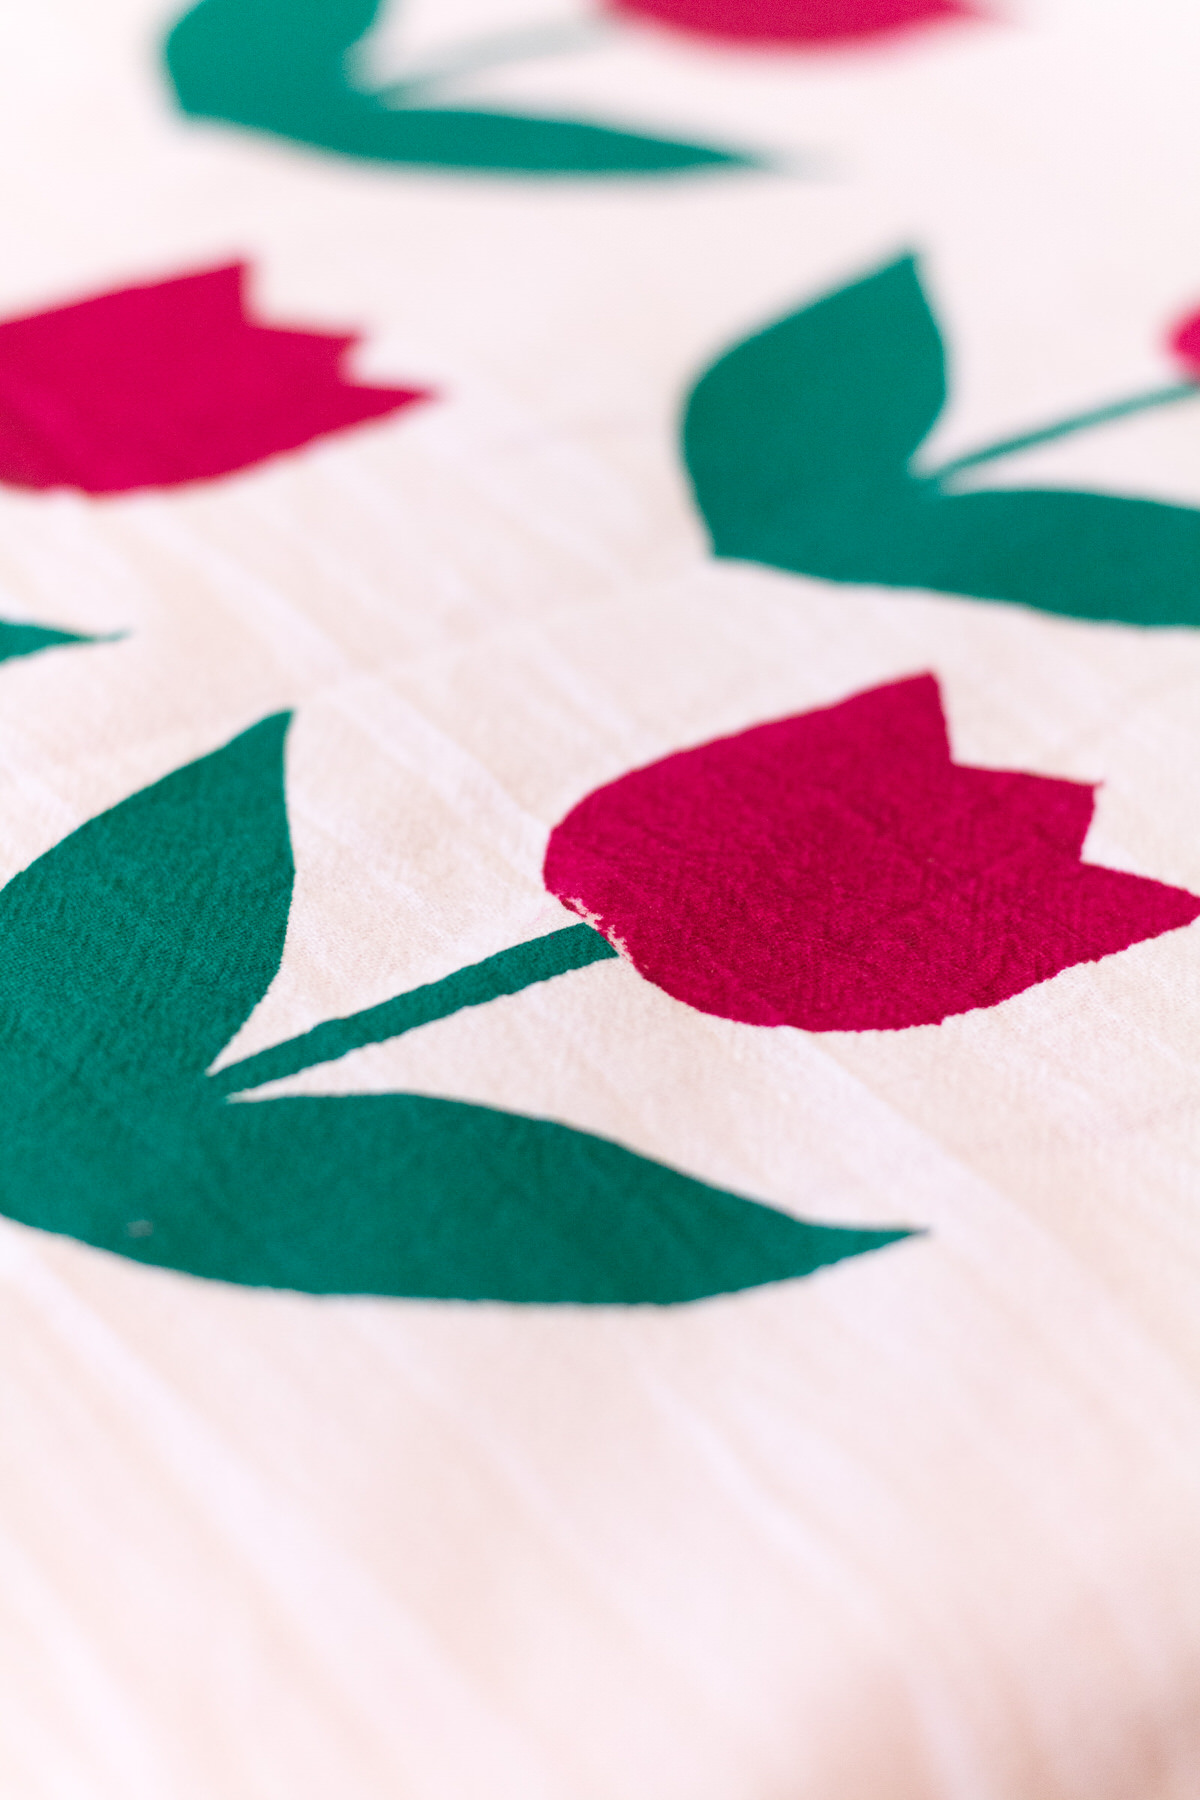
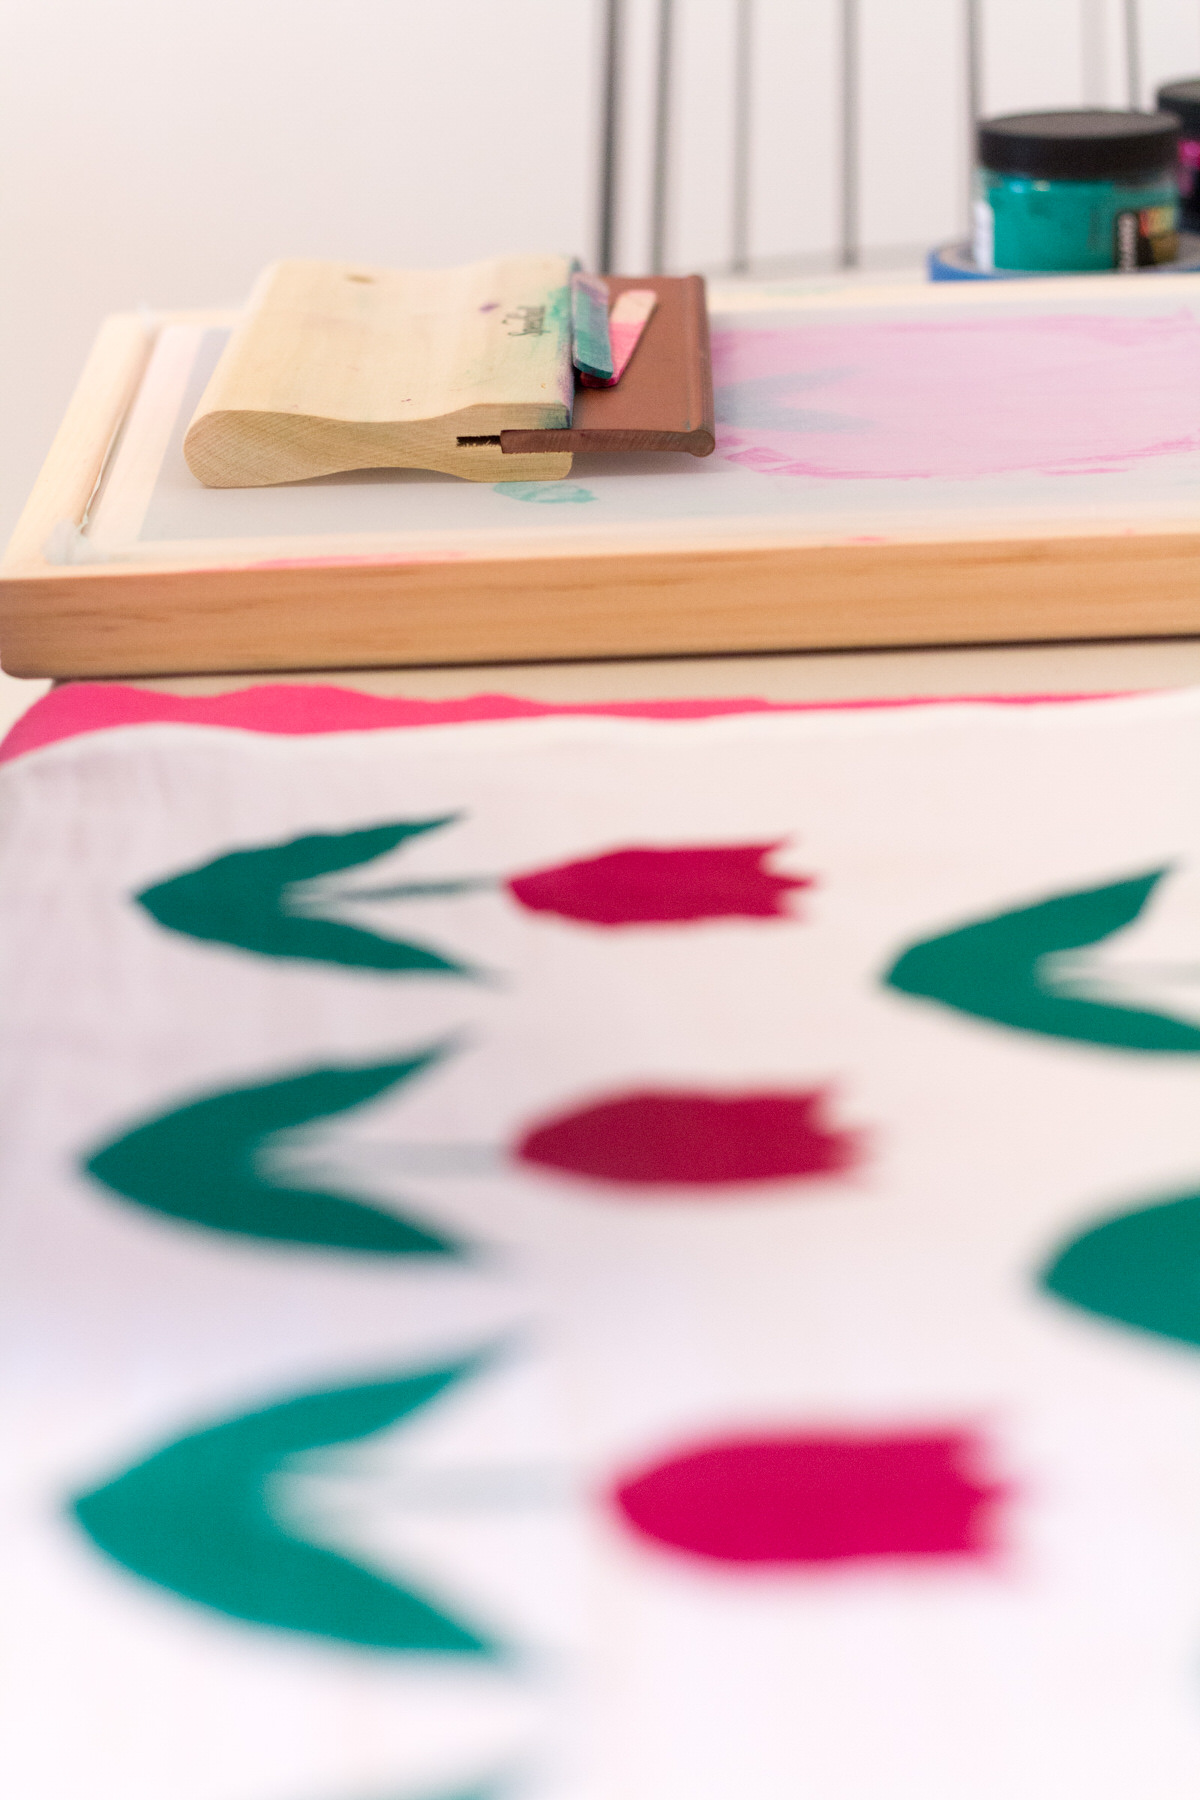
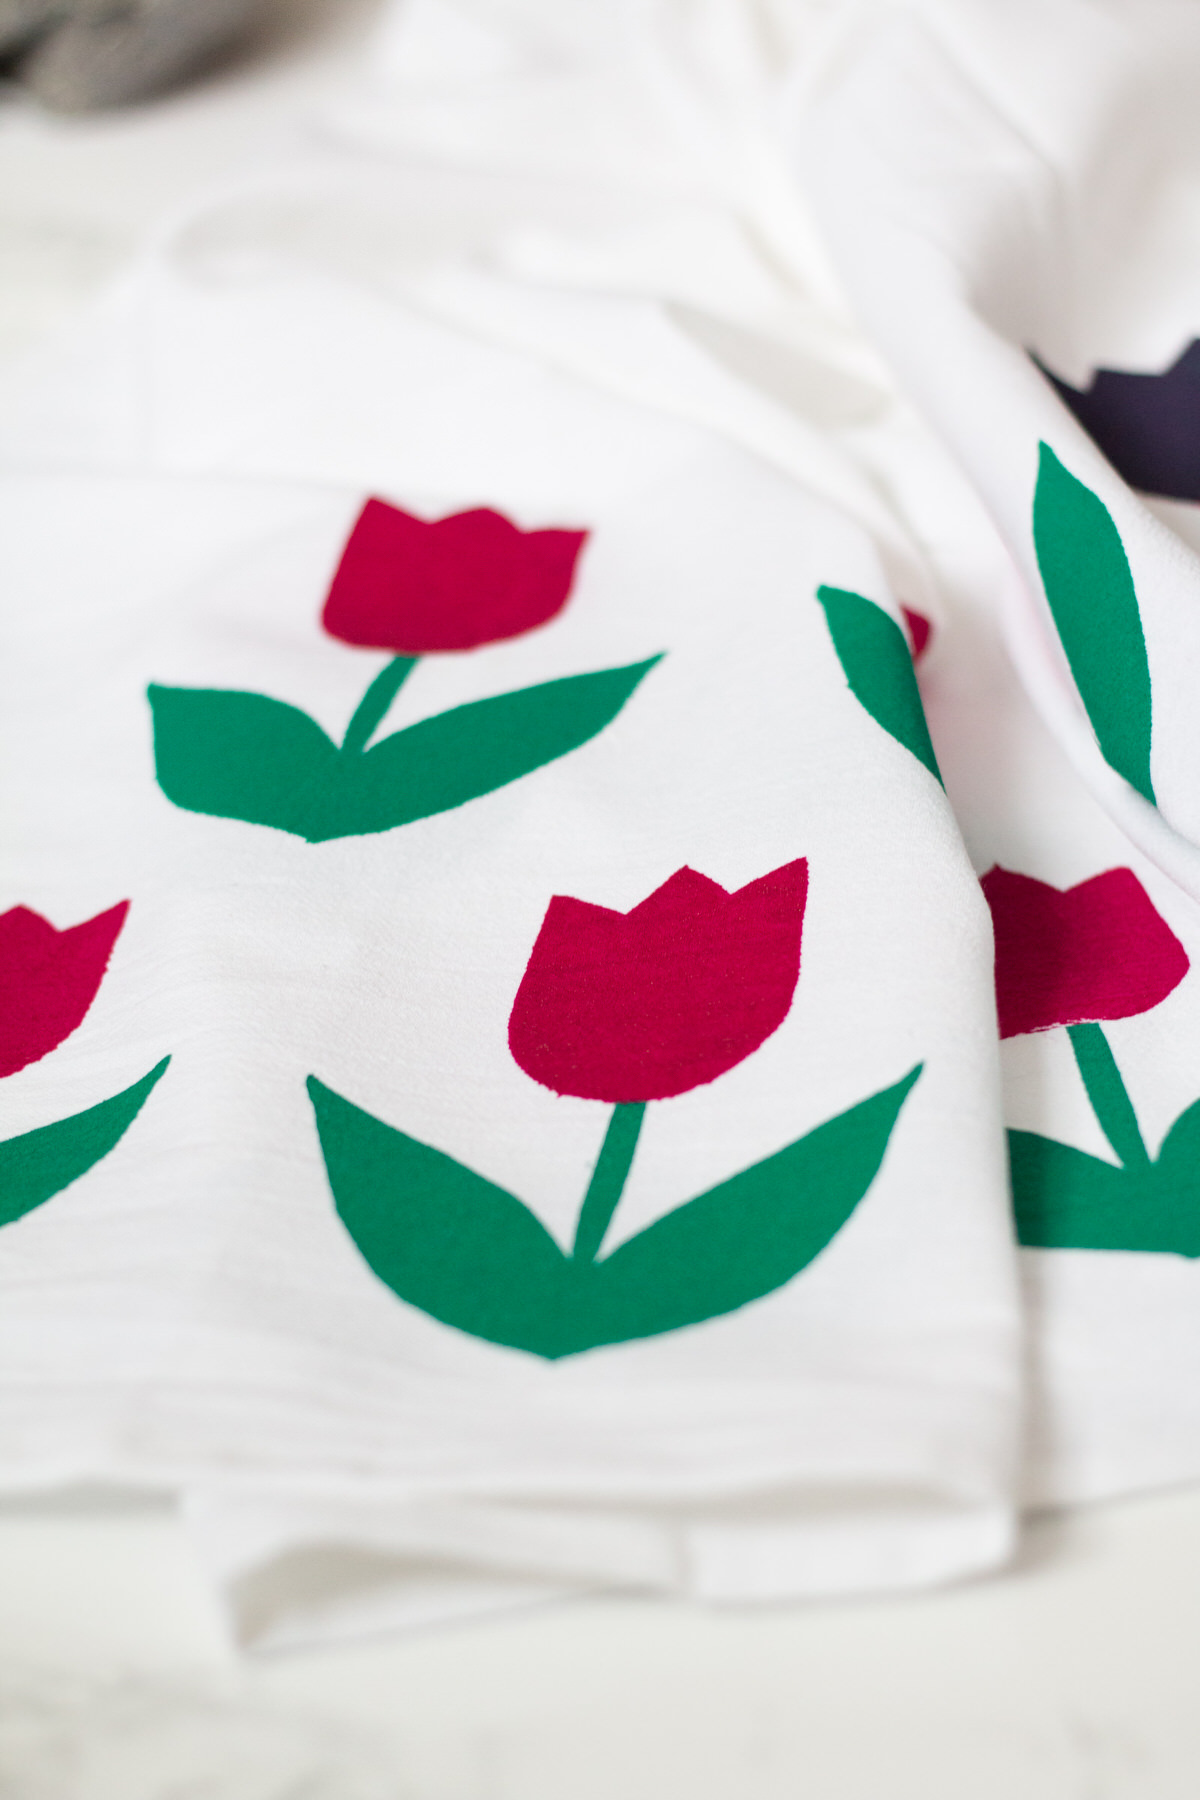
You add on a generous amount of ink above the area (never on top of the cut out areas), take your squeegee, and at a 45º angle, pull the ink down the screen. Scoop up the ink and bring it back up to the top! I pulled twice on this but it depends on how much ink you have on the screen. Just make sure there aren’t any open spots, you’ll know if and when your pull wasn’t good enough, it leaves a spot that is not as dark as the other areas within the design. It’s a little trial and error to see if you are using too much ink or not. It shouldn’t bleed to the back so if it is, don’t pull as many times or use less ink.
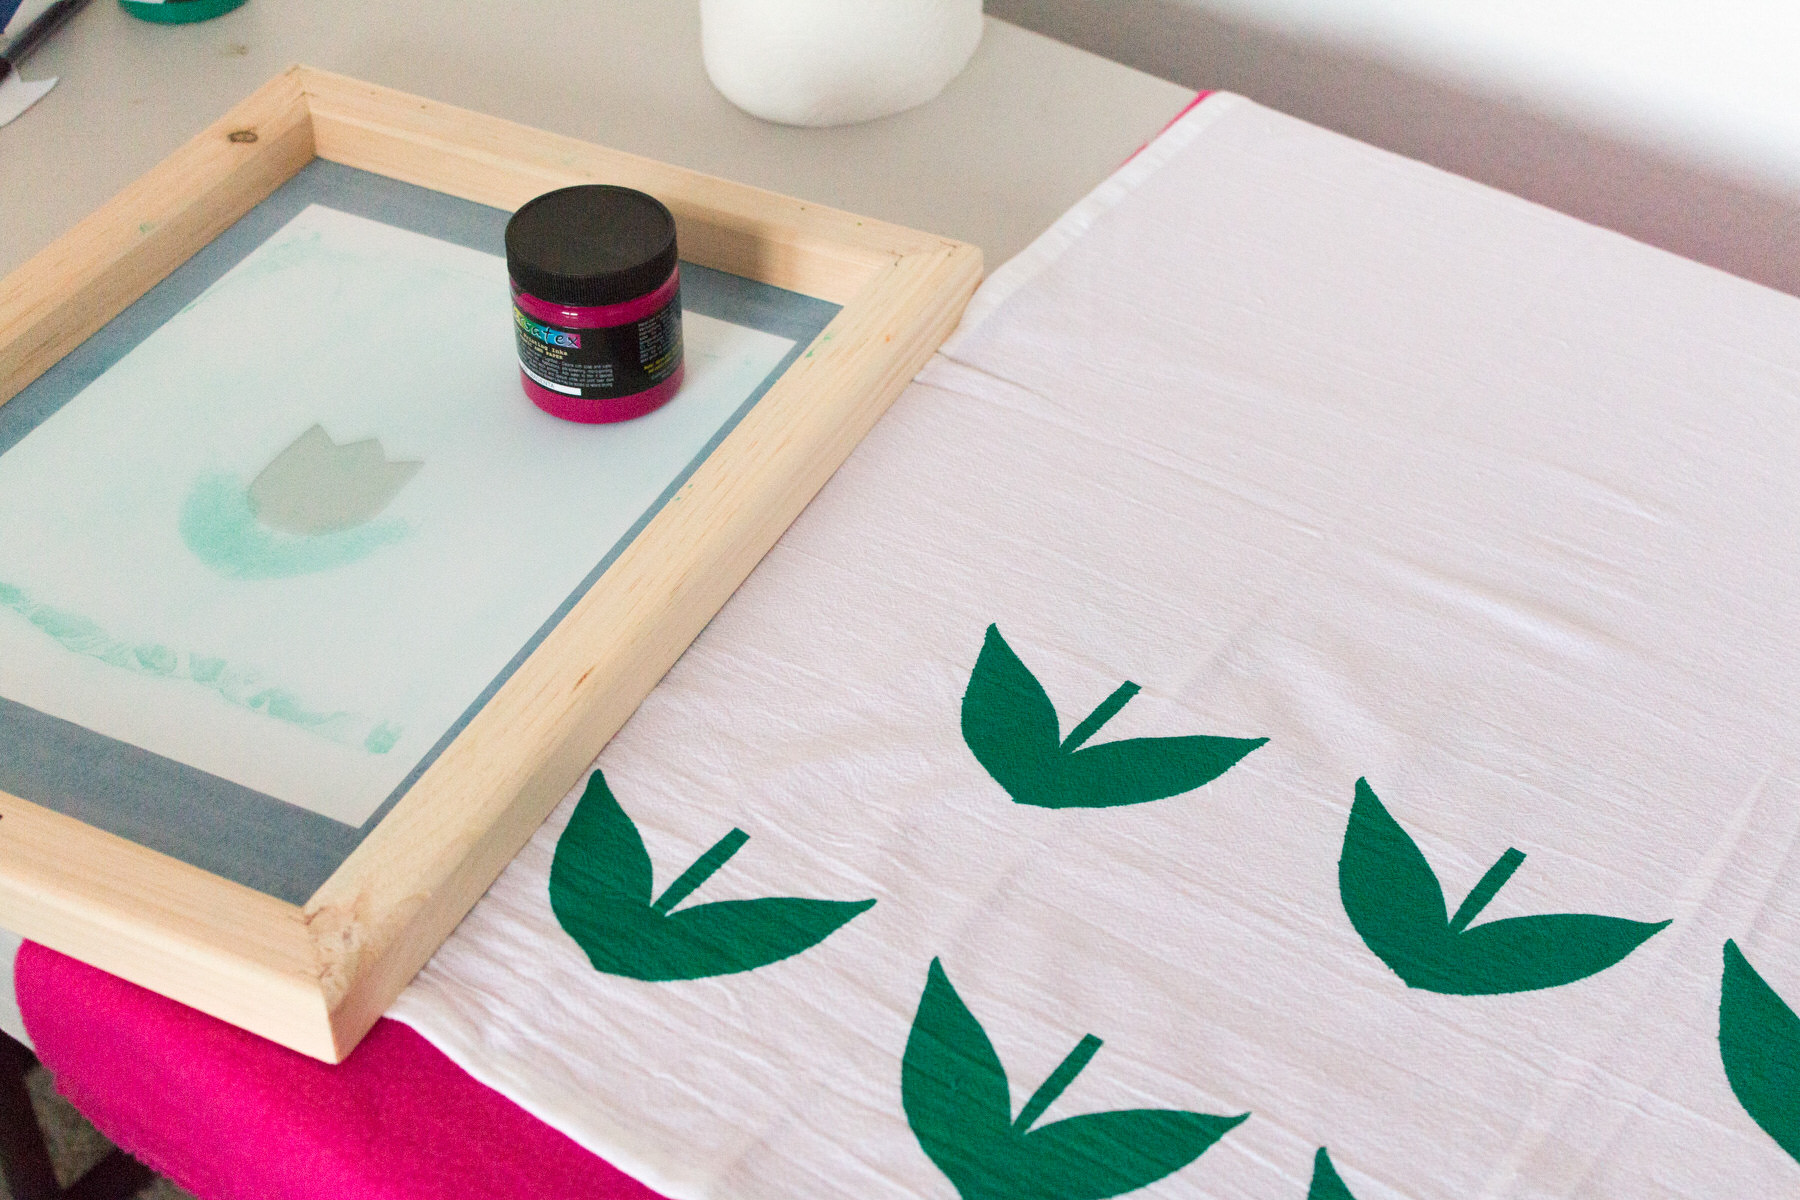
As you keep printing, you’ll want to wipe off any ink that gets on the back side of the frame so you don’t transfer it as you do the next pull.
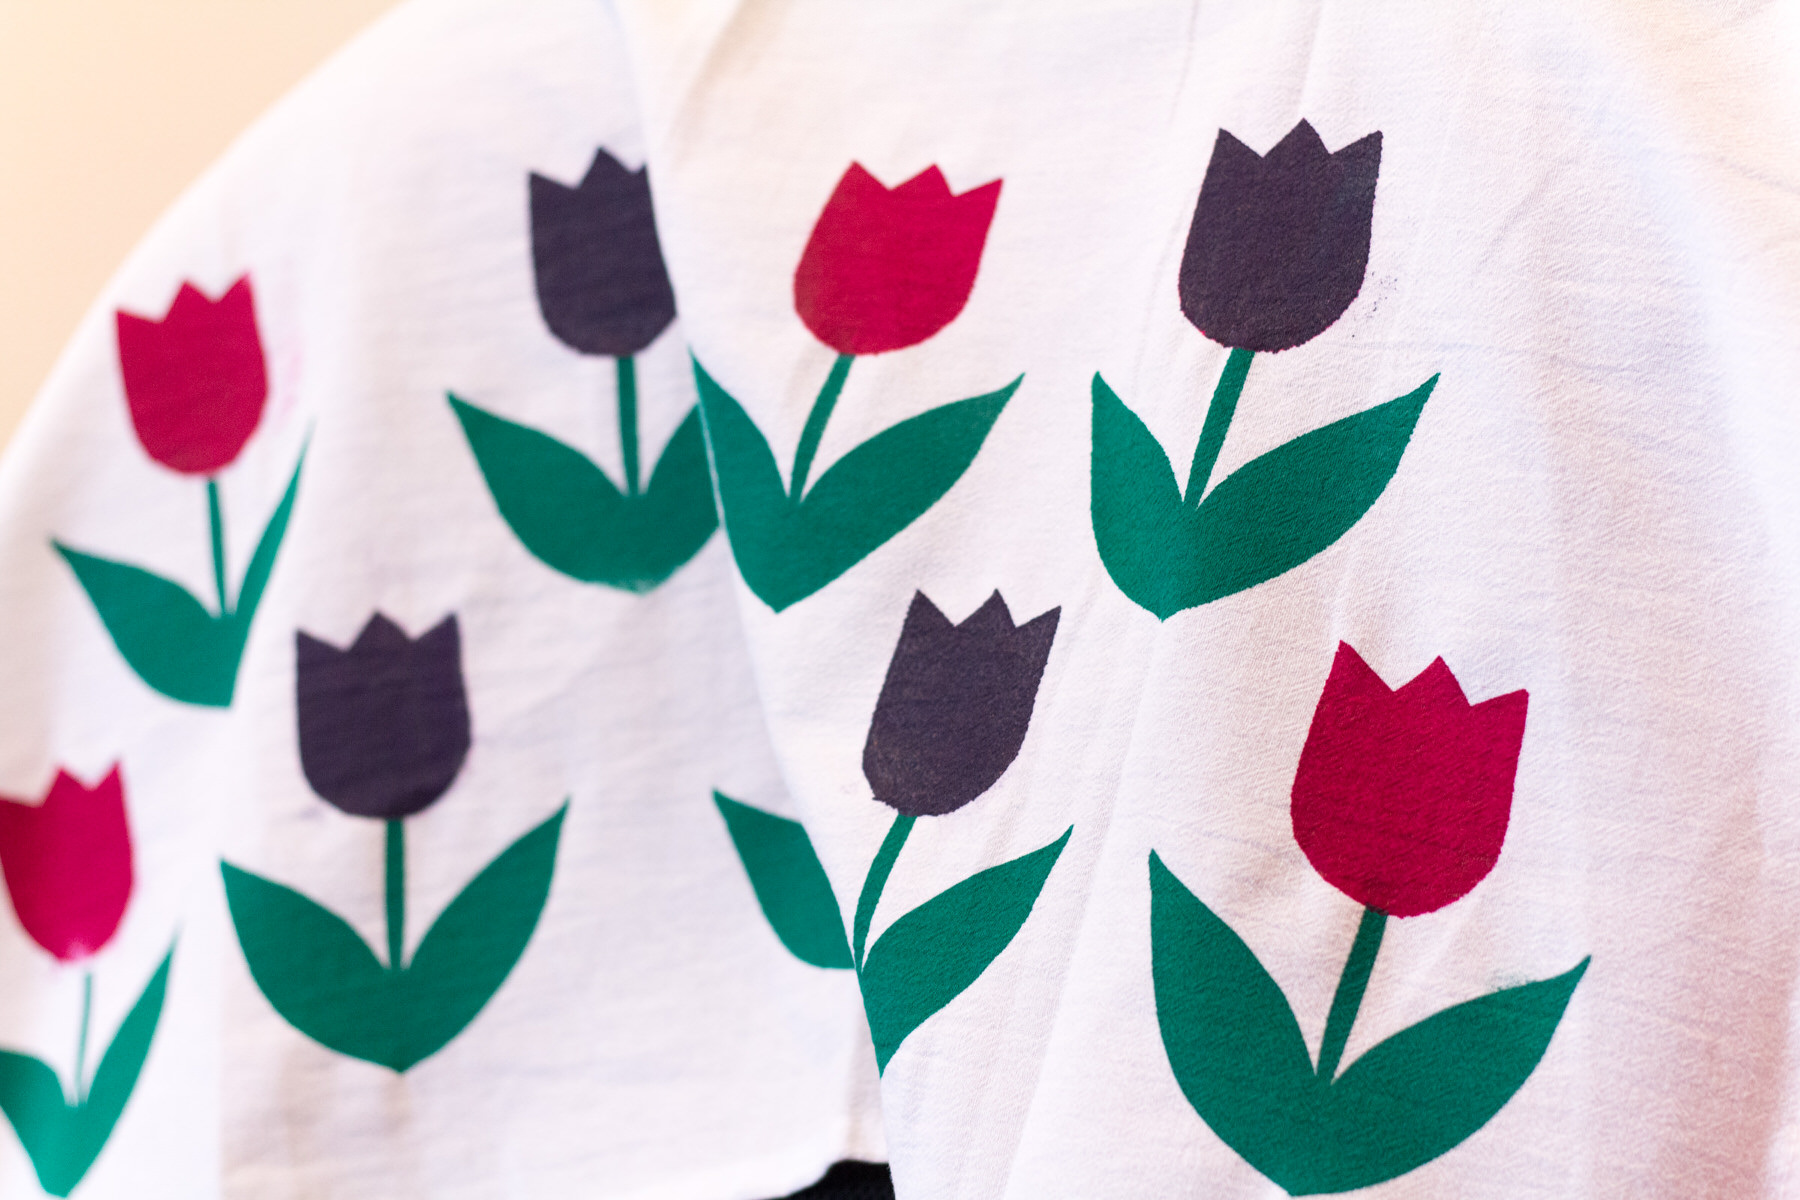
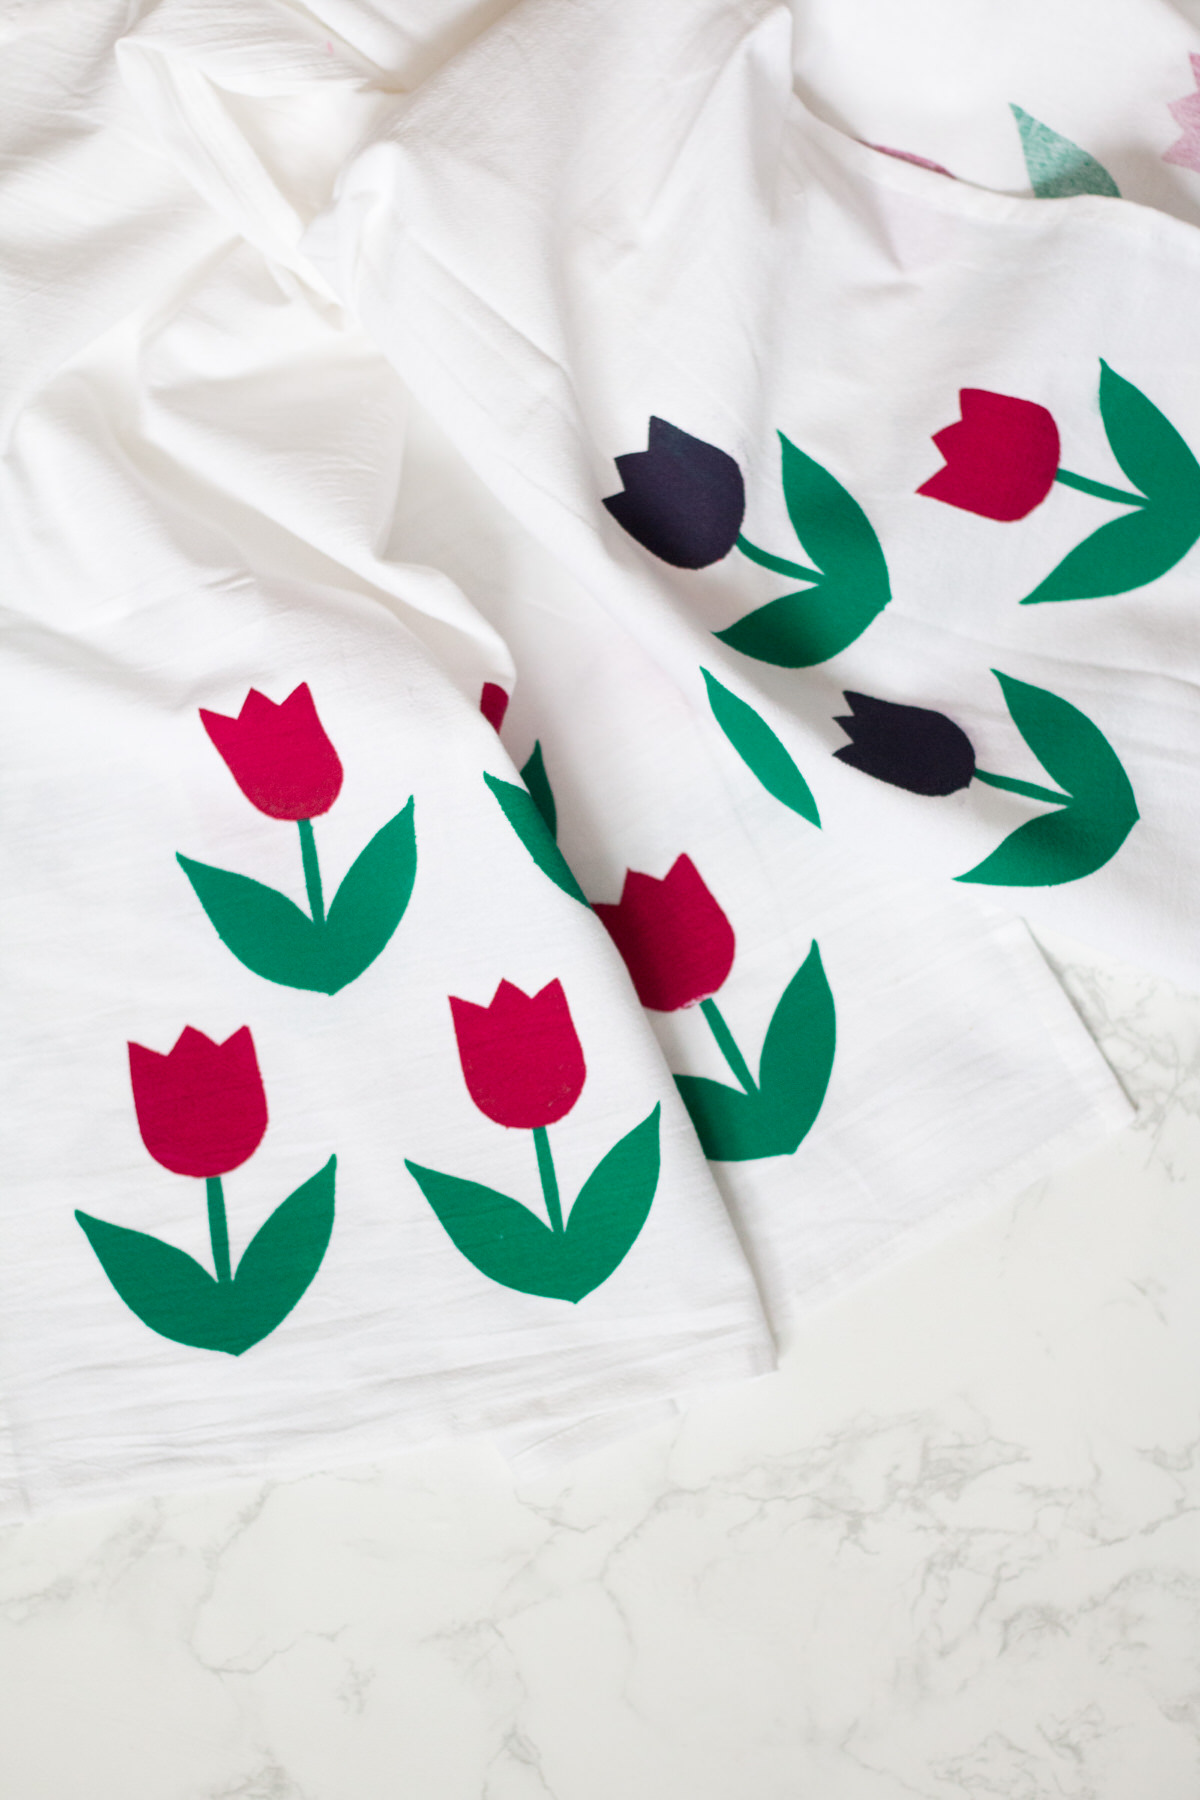
If you mix the pink and green ink it makes this pretty purple color so I had to try a purple tulip as well. This second tea towel got all the mistakes (luckily not both, and this image hides it well!). Mostly because I was too lazy to remake stencils and once I got to the last pulls on this towel, the paper had gotten too wet and wrinkly. A few times I was also using too much ink so a few of the flowers bled through the back.
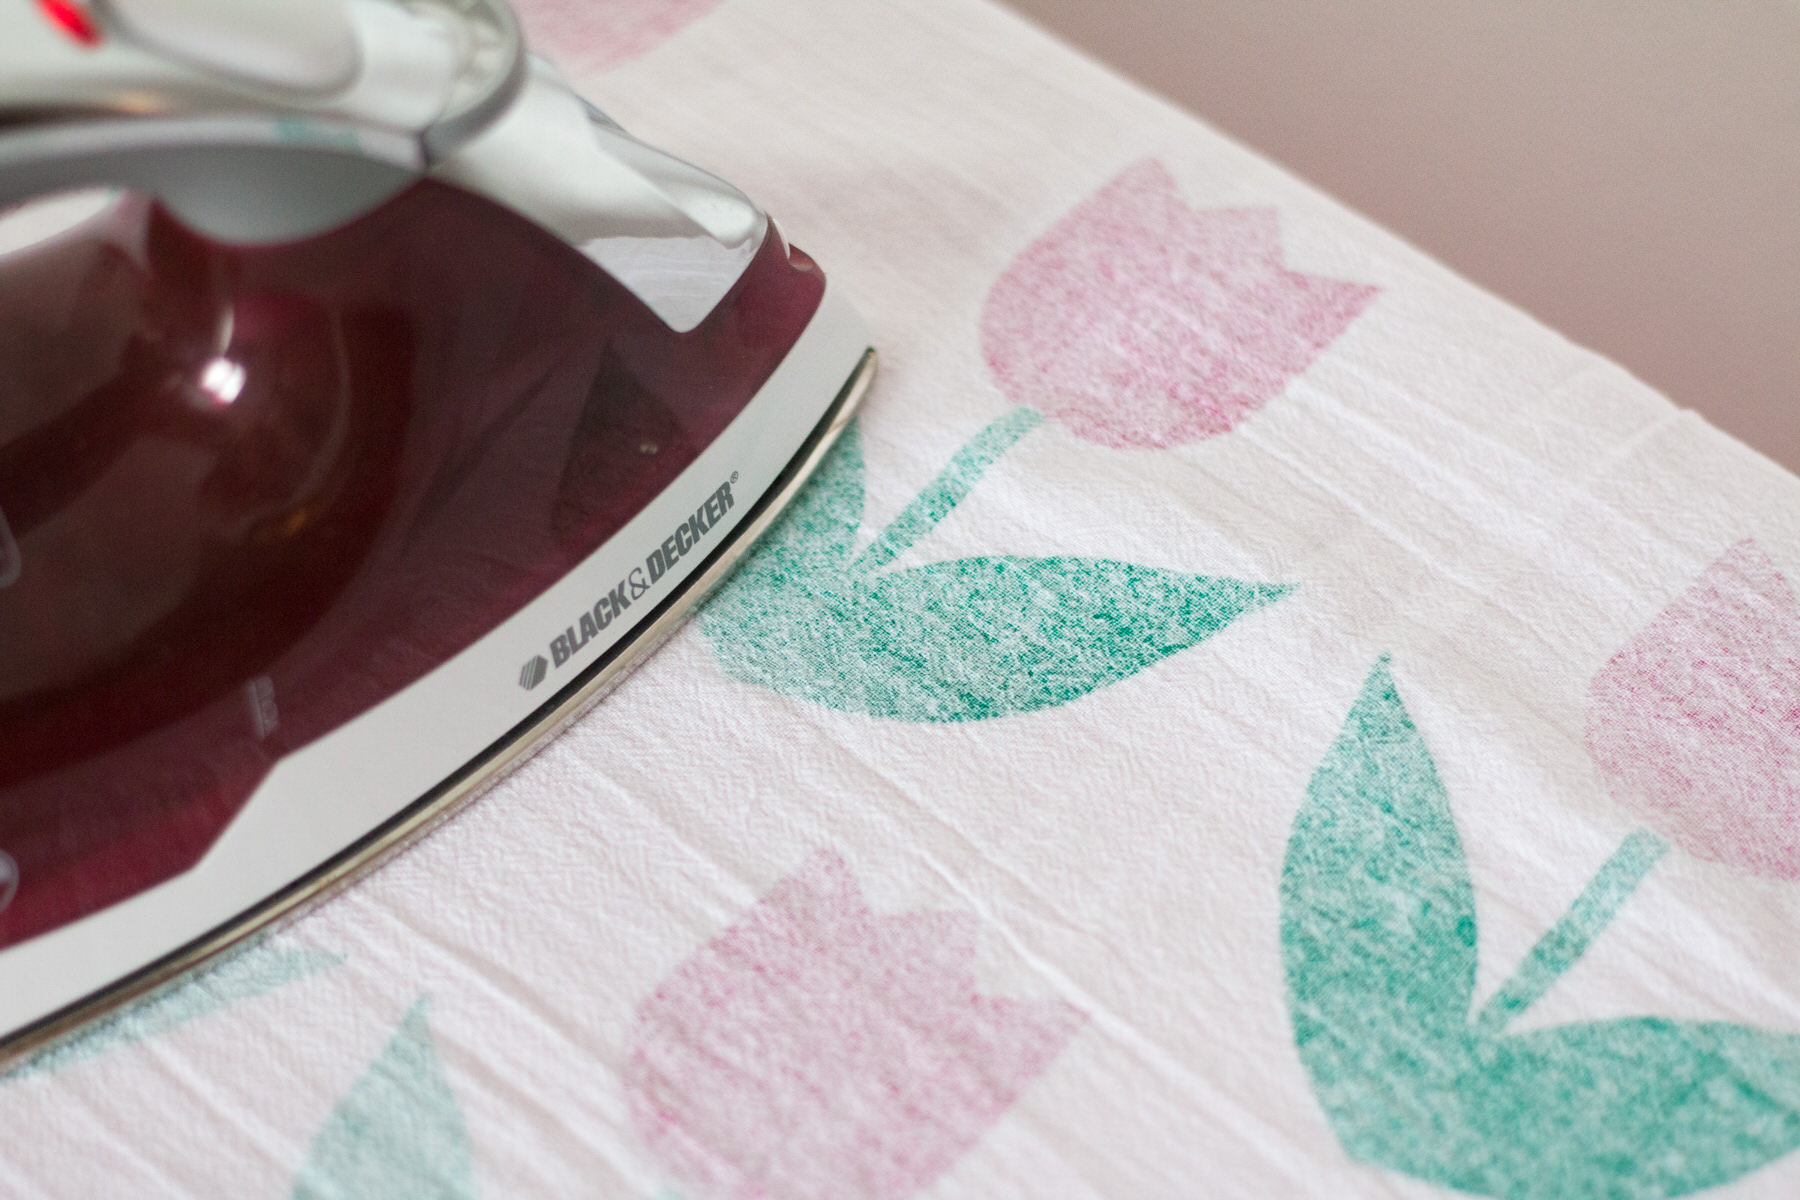
After the ink has completely dried you iron the back on the highest setting that fabric will allow and set the ink in. You can’t iron long enough, obviously you don’t want to burn your fabric but this heat sets your ink so when it gets washed you can keep that vibrancy. Then it’s good to go in the wash!
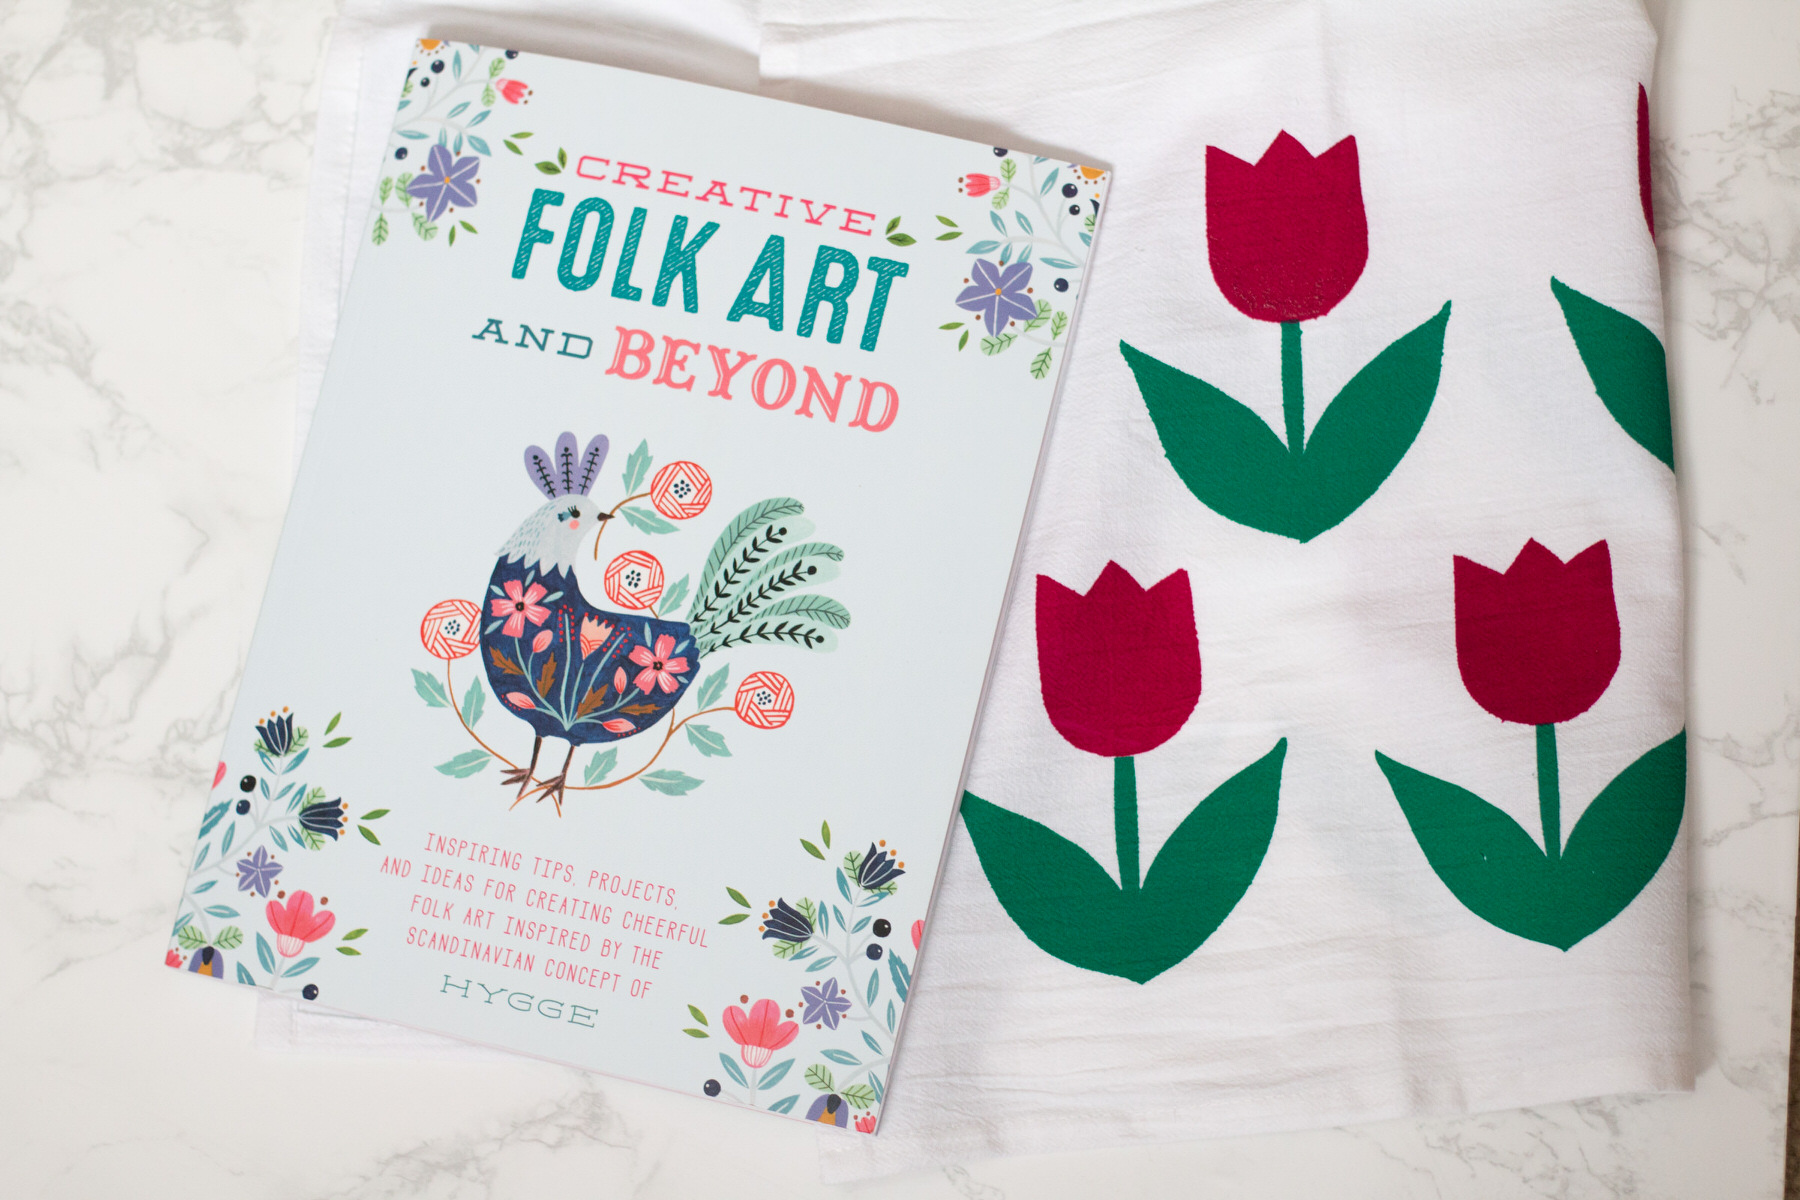
I recently bought this book with the cutest folk and Scandinavian-esque illustrations as I get excited for a painting workshop I signed up for in Omaha with Oana Befort. If you haven’t seen her work you must go right now. She is my favorite illustrator. So excited to meet her and learn from her at the end of the month!

I am in no ways a screenprinting pro, but it was fun to relearn the techniques I learned in college and get to have a way to screen print at home! I have a million ways I want to use this technique and I can’t decide where to start first! What would you make for your first project?
